

Price Match Promise
Seen a similar kitchen for cheaper? We’ll match the price.
20% off stone worktops until 11th November* Find out more
From budgets and measurements to layouts and finishes, here's how to approach your renovation with confidence.
Published
Planning a new kitchen is exciting! Whether you’re in a neat new build, or a characterful older home, the choices you make will shape how you live in the space every single day. Good planning is what turns a nice kitchen into one that actually works.
Before you start scrolling colour palettes or comparing worktops, take a step back and think about why you're renovating in the first place.
Most people don't decide to renovate their kitchen because they suddenly fancy a different cabinet colour. There's usually a reason sitting behind it. Maybe storage is running out. Maybe the layout never quite worked. Perhaps the kitchen has become the busiest room in the house, but isn't keeping up with the way your family lives today.
We've seen plenty of customers arrive with a clear vision of what they want their new kitchen to look like, only to discover the real challenge is making it work better. That's often where the best renovations begin.
Try asking yourself a few simple questions:
Think about an ordinary Tuesday rather than a special occasion. Where do school bags land? Is there enough room for someone to unload the dishwasher while somebody else cooks? Do worktops disappear beneath small appliances?
The answers often tell you more than any moodboard ever could.
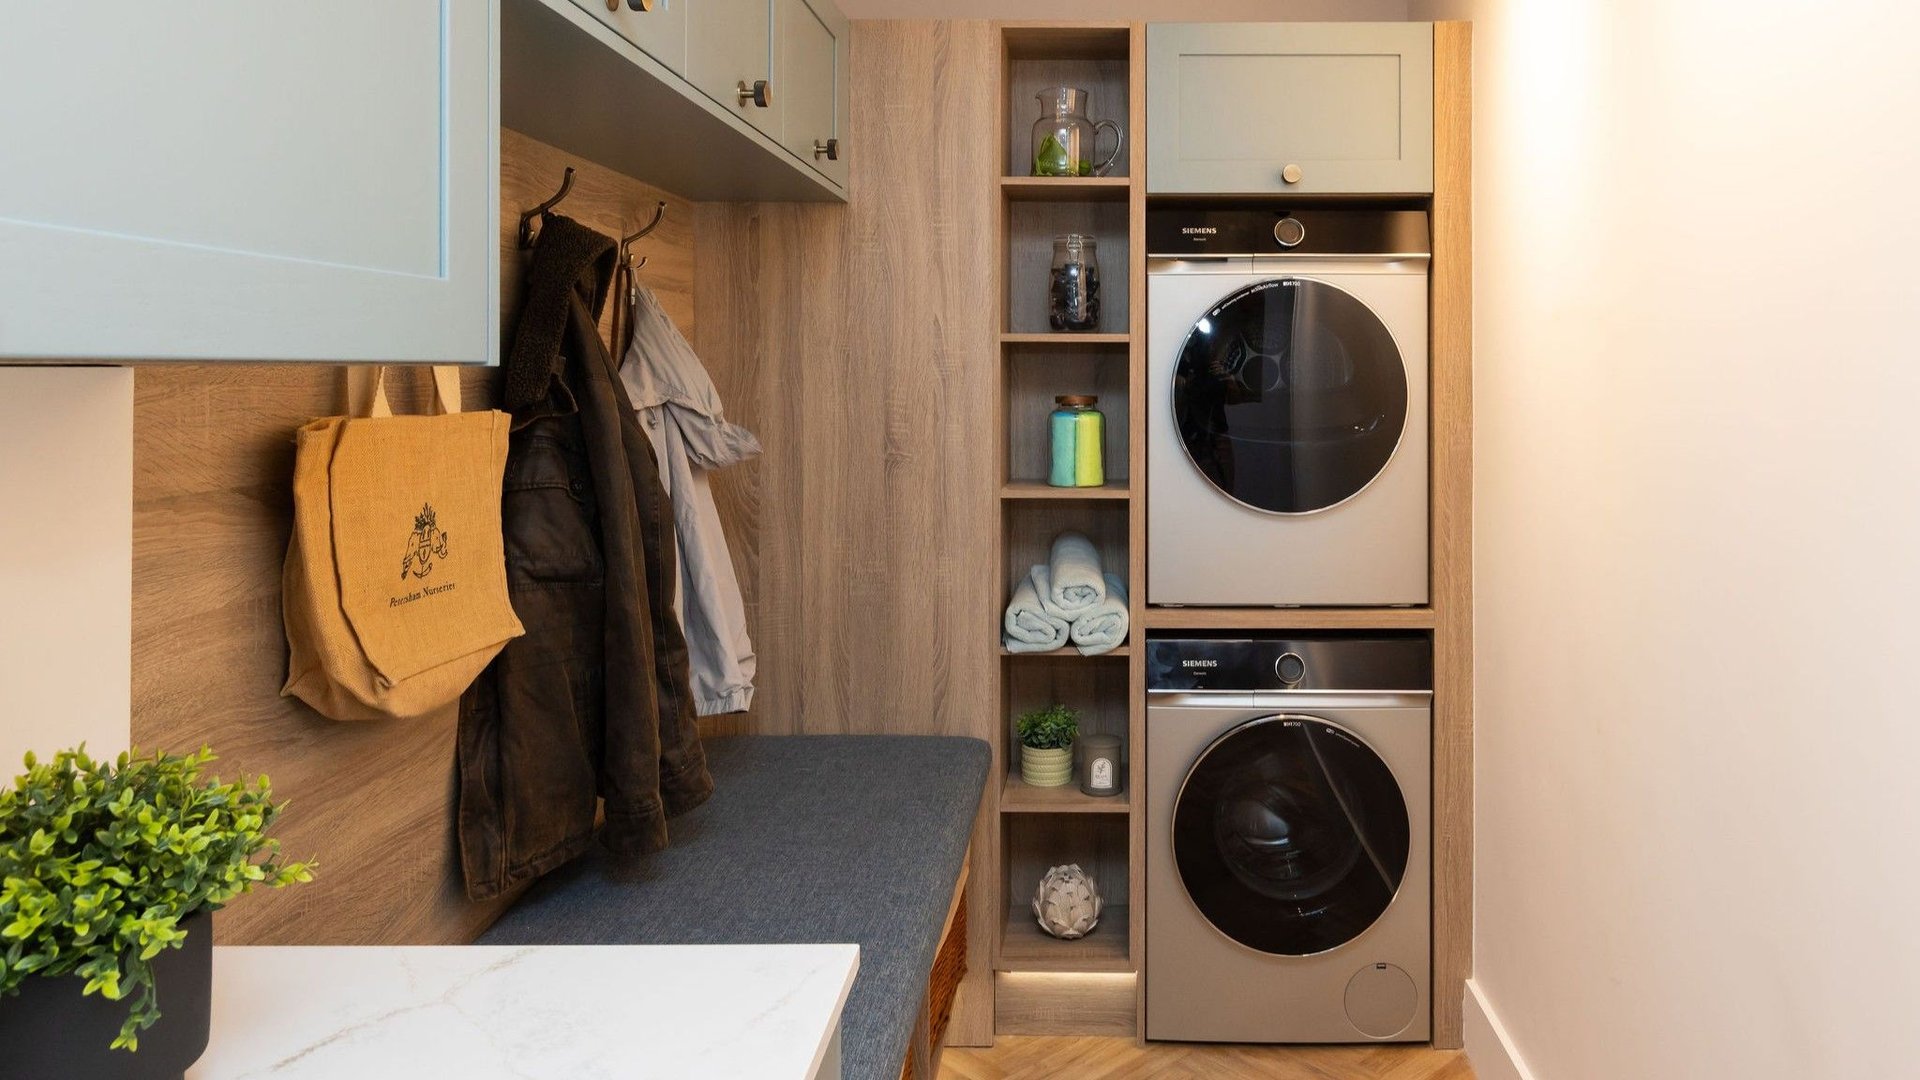
Talking about budgets isn't the most exciting part of a kitchen renovation, but it's one of the most important.
One mistake we see occasionally is homeowners falling in love with a design before they've established what they want to spend. The result is often a lot of unnecessary compromises later on.
A clear budget helps you prioritise what matters most from the beginning. It's also worth remembering that a kitchen renovation involves much more than cabinetry and appliances. There are always additional considerations that need to be factored in.
Before getting too far into the planning stage, make sure you've considered:
If you're planning structural changes, it's also worth checking whether you'll need:
Don't worry if that list feels long. Not every renovation will require every item.
The important thing is giving yourself a realistic picture of the project from the outset. We've found that customers who establish a budget early tend to make decisions with far more confidence because they know exactly where they want to invest and where they're happy to keep things simple.

Exciting as it is to dive straight into colours and cabinet styles, every successful kitchen renovation starts with accurate measurements.
That doesn't mean you need architectural drawings. At this stage, you're simply building a clear picture of the room. Measure the walls, ceiling height, windows, doors and any fixed features such as radiators, boilers or pipe boxing.
One thing we've learned over the years? Homes rarely behave exactly as you'd expect.
Newbuilds might look perfectly square but can still have small quirks worth noting. Older homes are a law unto themselves. We've seen walls that lean, floors that slope and alcoves that appear where no floorplan suggested they should exist. It's all part of the charm.
A good set of measurements helps everyone start from the same place. It also makes the entire renovation process smoother, helping designers create layouts that work with the room rather than fighting against it.
Read our How to measure your kitchen accurately blog for a full breakdown.
This is the stage where a kitchen starts moving from a floor plan on paper to somewhere you'll actually live.
We've seen plenty of beautiful plans over the years, but the most successful kitchens aren't necessarily the most complicated. They're the ones that make everyday tasks feel easy. Putting shopping away. Making breakfast. Unloading the dishwasher. Cooking dinner while somebody else is making a cup of tea.
Before choosing colours, handles or worktops, spend some time thinking about how you'll move around the room.
If you're planning an island, breakfast bar or open-plan extension, spend a little time imagining how people will move through the room. Kitchens aren't static spaces. They need to work when life gets busy.

Cabinets are the backbone of a kitchen, so it's worth planning them around the things you actually own.
Deep drawers often outperform traditional cupboards for everyday items because everything is visible at a glance. No crouching down. No reaching into the back of a dark cupboard wondering where that pan disappeared to.
Larder storage remains a popular choice for exactly the same reason. When food is visible, it's easier to find and less likely to be forgotten about.
One thing we often encourage customers to do is mentally unpack their current kitchen.
Where do the dinner plates live? The mugs? The pans? The cereal? It sounds simple, but it's amazing how many storage decisions become clearer when you think about the contents first and the cabinets second.
And don't forget the basics. Every year, we see plans that include plenty of cupboards but very few, if any, drawers. Cutlery, utensils, tea towels and cooking tools all need a home too.
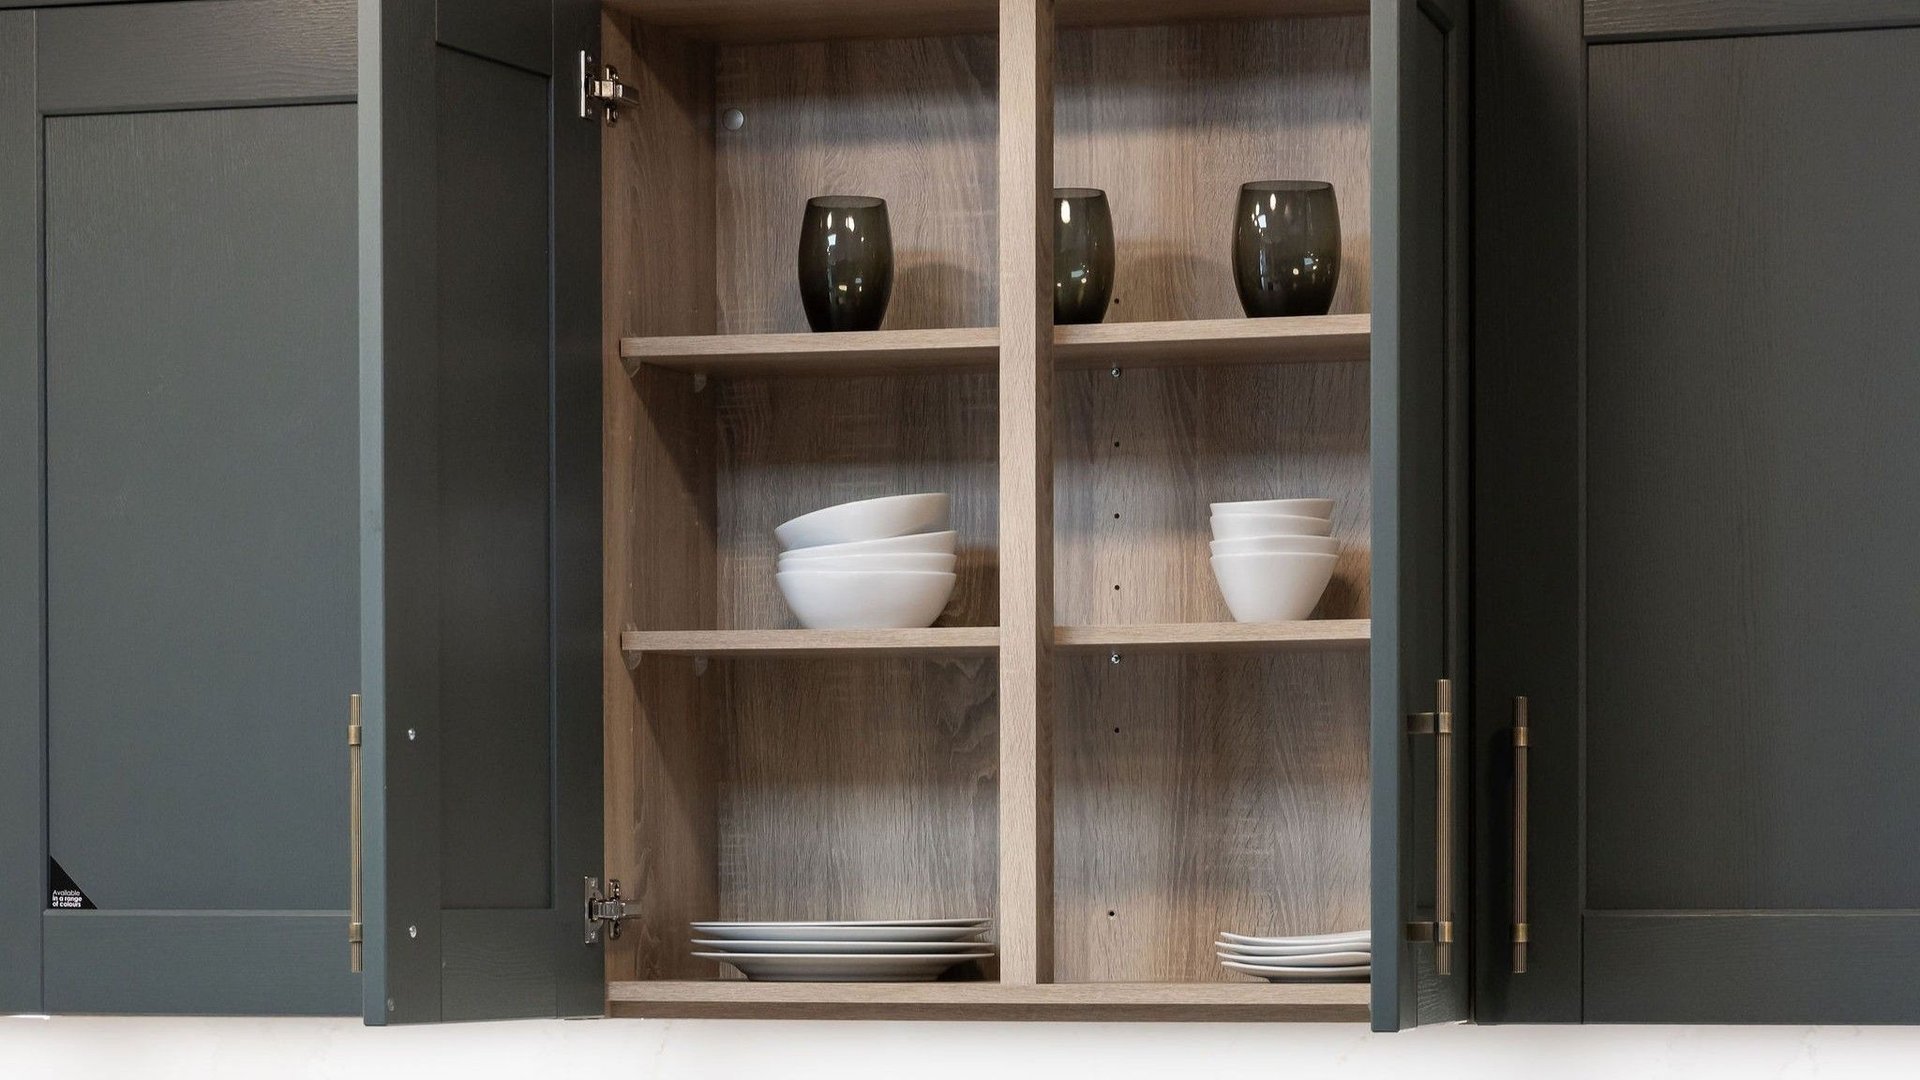
Worktops deserve just as much thought as the cabinets sitting underneath them.
Start by thinking about how you use the surface. Do you bake regularly? Like to prepare meals from scratch? Need room for a coffee machine, air fryer or stand mixer?
We've found most people never complain about having too much worktop space. The opposite tends to be true.
From a planning perspective, a few practical considerations are worth keeping in mind. Allow a small tolerance of a few millimetres where worktops meet walls and tall units and think carefully about where joins will fall.
Long runs also need a reality check. A worktop may look perfect on a design plan, but it still has to make its way through the front door, down hallways and into the room itself. If it cant reach the kitchen easily, the plan needs adjusting.
Tamsin Holland, Product Development Manager
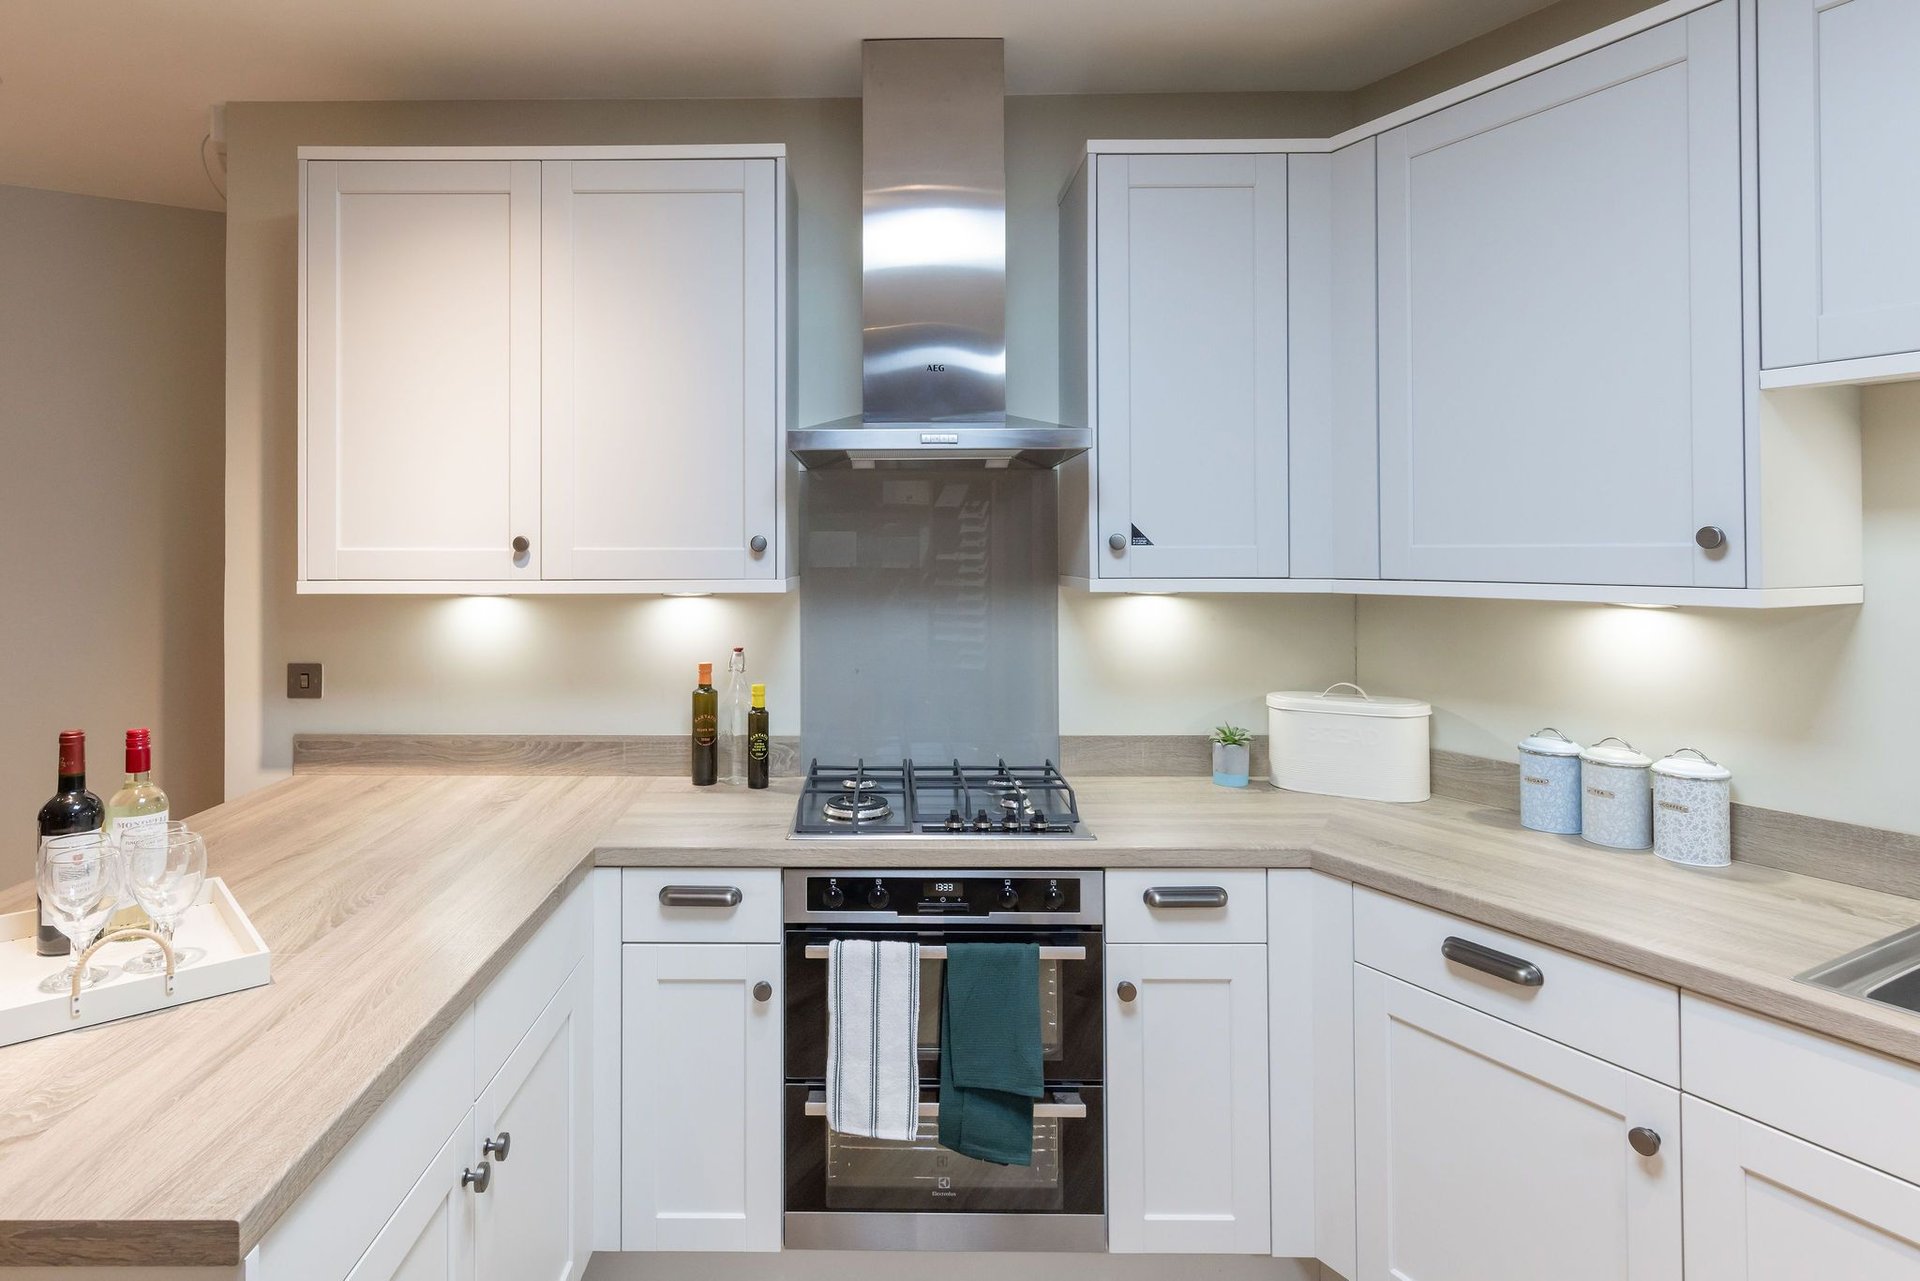
Appliances need breathing space around them to function properly.
Manufacturer guidance exists for a reason, so it's worth checking clearances before finalising any layout. Doors need room to open fully and appliances need adequate ventilation.
The easiest way to sense-check a layout is to imagine a busy evening in the kitchen. The dishwasher is open. Someone's putting away cutlery. The oven is on. The fridge door opens.
Does everything still work?
The same thinking applies to plug sockets.
Think about where you'll actually use appliances rather than where they look tidy on a plan. Coffee machines, kettles, blenders, phone chargers and air fryers all need power, often at the same time.
No one wants a daily standoff between the toaster and the kettle before their first coffee of the morning.
Tamsin Holland, Product Development Manager
Now for the part most people look forward to.
Pinterest boards start filling up. Screenshots pile up. Suddenly you're deciding between shaker and handleless, painted and woodgrain, classic and contemporary.
Our advice? Don't choose a kitchen based on a single photograph.
Instead, think about how you want the room to feel. Warm and welcoming? Clean and contemporary? Somewhere the whole family naturally gathers? The best kitchens often reflect both the home they're in and the people using them.
A characterful cottage may suit a shaker kitchen beautifully, while a modern extension might lean towards a handleless design. That said, there are fewer rules than there used to be. We've seen plenty of homeowners successfully blend traditional and contemporary elements to create something that feels uniquely theirs.
One thing we often notice is that customers arrive with a very clear idea of what they want, only to leave the showroom loving something completely different. That's why it's worth staying open-minded until you've seen styles, colours and finishes in person.
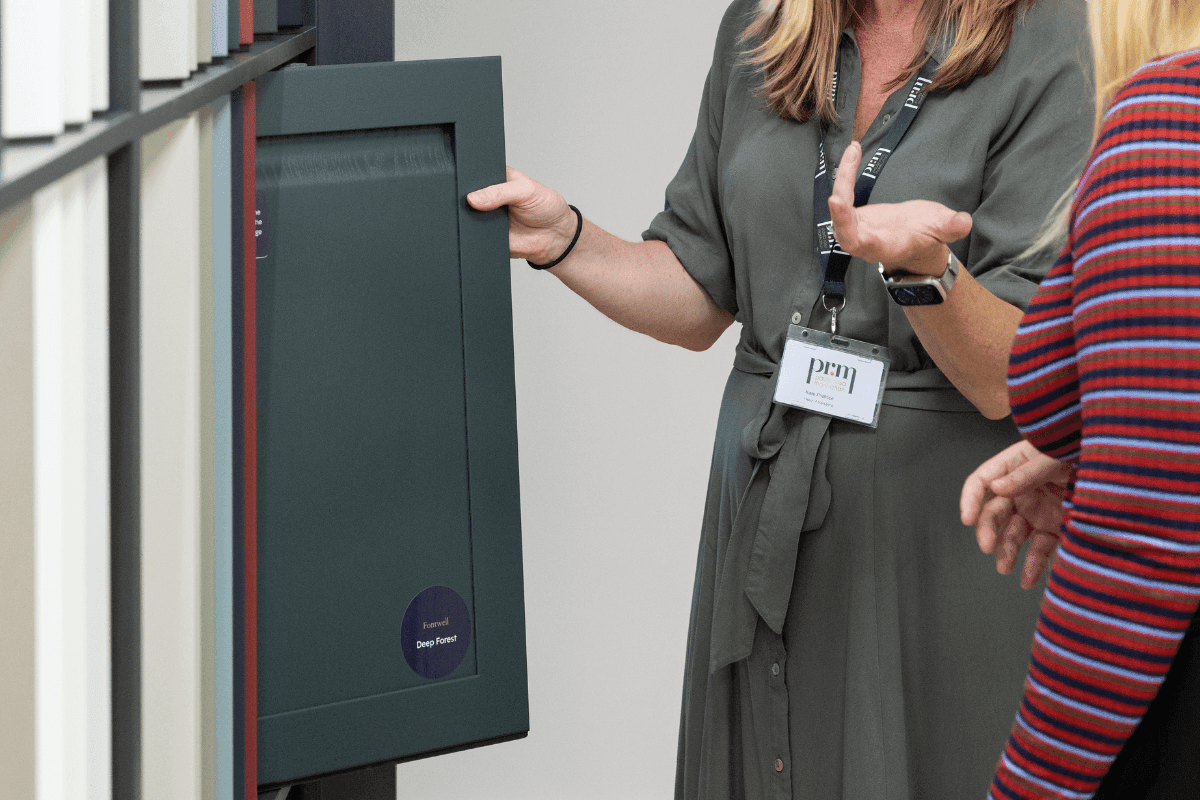
Once you've settled on a style, it's time to focus on the details that bring the kitchen together.
Worktops, handles, colours, flooring, taps and lighting all play a role. On their own, they're individual decisions. Together, they create the personality of the room. The key is making sure everything works as a whole.
We've seen customers fall in love with a worktop sample, only to discover it doesn't quite sit comfortably alongside their chosen cabinetry. Equally, we've seen simple colour schemes elevated by the perfect handle or tap finish.
Try gathering samples in one place. Cabinet doors, flooring, paint colours, handles and worktops. Looking at everything together often tells you much more than viewing each piece separately.
If there's one thing worth doing before making a final decision, it's taking samples home. A finish that looks perfect under showroom lighting can feel completely different in your own kitchen.

By this stage, most of the exciting decisions have been made. Now it's about making sure installation runs as smoothly as possible.
A little preparation goes a long way.
If your existing kitchen is still in place, think about how you'll manage day-to-day life while work is underway. It might be worth setting up a temporary tea and coffee station, planning simple meals or finding somewhere to store everyday essentials.
It's also a good time to double-check measurements, appliance specifications and delivery arrangements.
We've found the customers who enjoy the renovation process most aren't the ones with the biggest kitchens. They're usually the ones who plan ahead.
A kitchen renovation can feel like a lot of decisions at once, but taking things step by step makes it far more manageable. Before long, you'll be swapping floor plans and samples for a kitchen that's ready for everyday life.
Seen a similar kitchen for cheaper? We’ll match the price.

Service that just gets it right, every time.

We’ve been building kitchens a long time.

Made right here in our Sussex factory.