

Price Match Promise
Seen a similar kitchen for cheaper? We’ll match the price.
20% off stone worktops until 11th November* Find out more

Planning your kitchen should feel simple from the start.
Our easy-to-use online planner helps you shape your space, choose your cabinets and build your kitchen step by step. Once you’re happy with your design, you can add everything straight to your basket and order in a few clicks.
Need a hand? We’re here. Contact us or chat to us online at any point.
Follow the steps below to get started.
Before you dive head first into creativity, you need to do the boring bit and map out your space.
When you open the planner, you’ll be asked to choose your room shape.
Select either a closed kitchen or an open kitchen, depending on your space. Once you’ve picked the one that best matches your room, click on it and you’ll be taken straight into your plan.
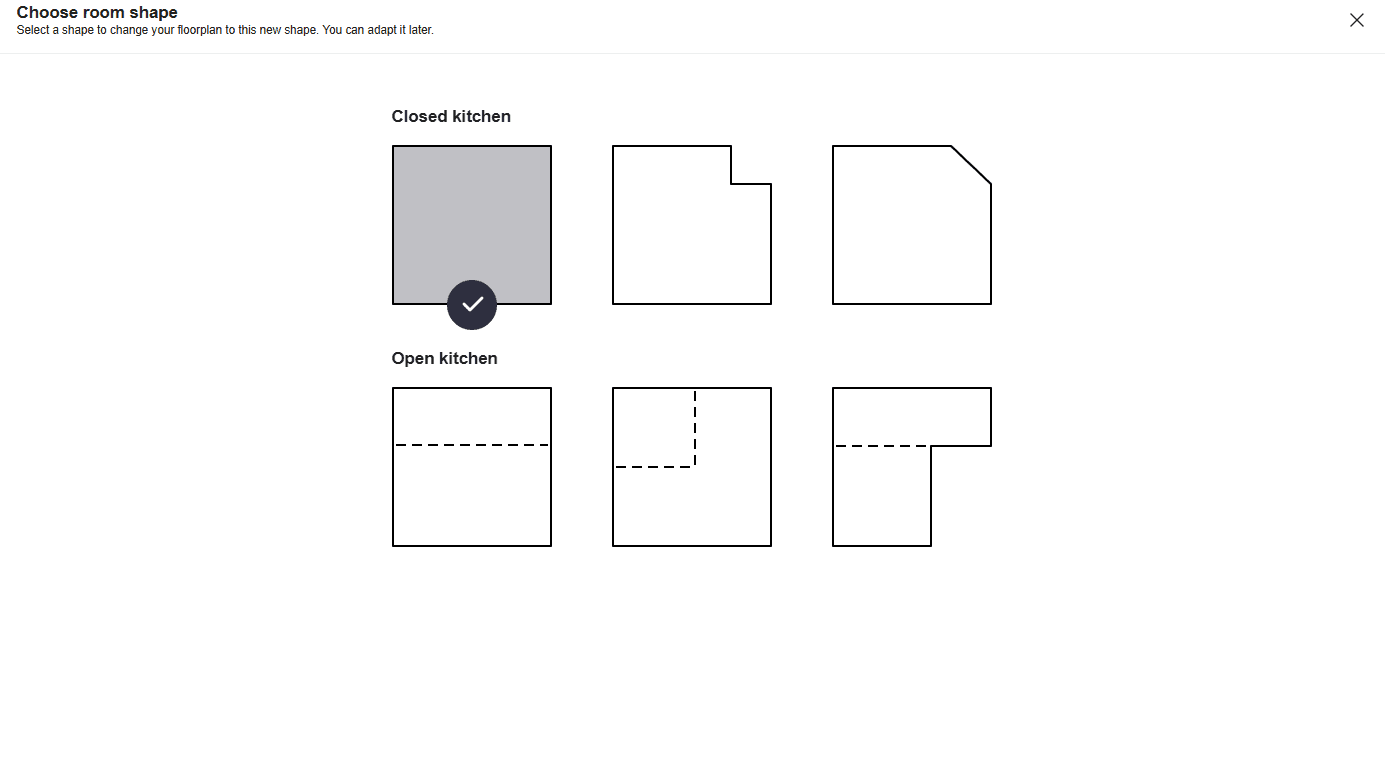
Once you have selected the shape of your kitchen, you will be able to click on a wall and drag it, to change the dimensions of the room.
If you would like to change the shape of your room at any point, you can navigate back by clicking ‘initial plan’ in the top left-hand corner to go back to the ‘room shape’ stage.
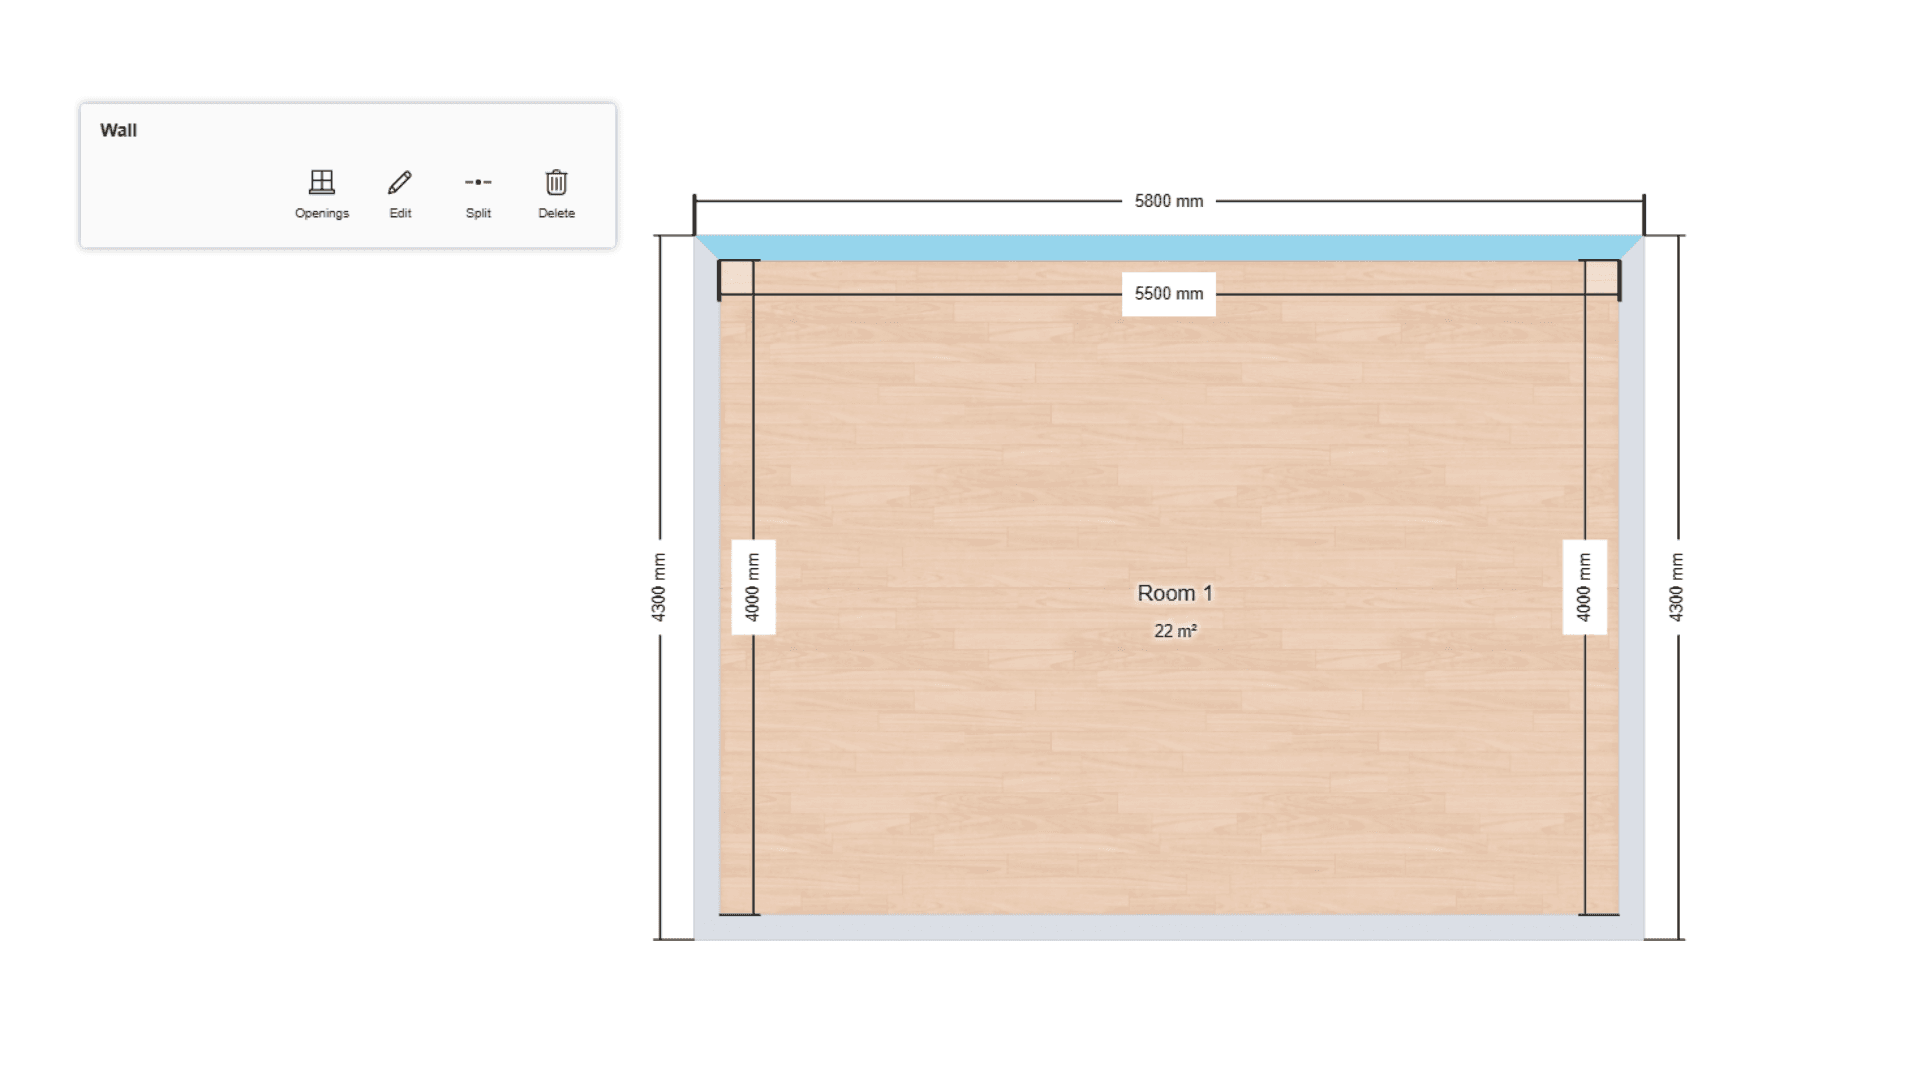
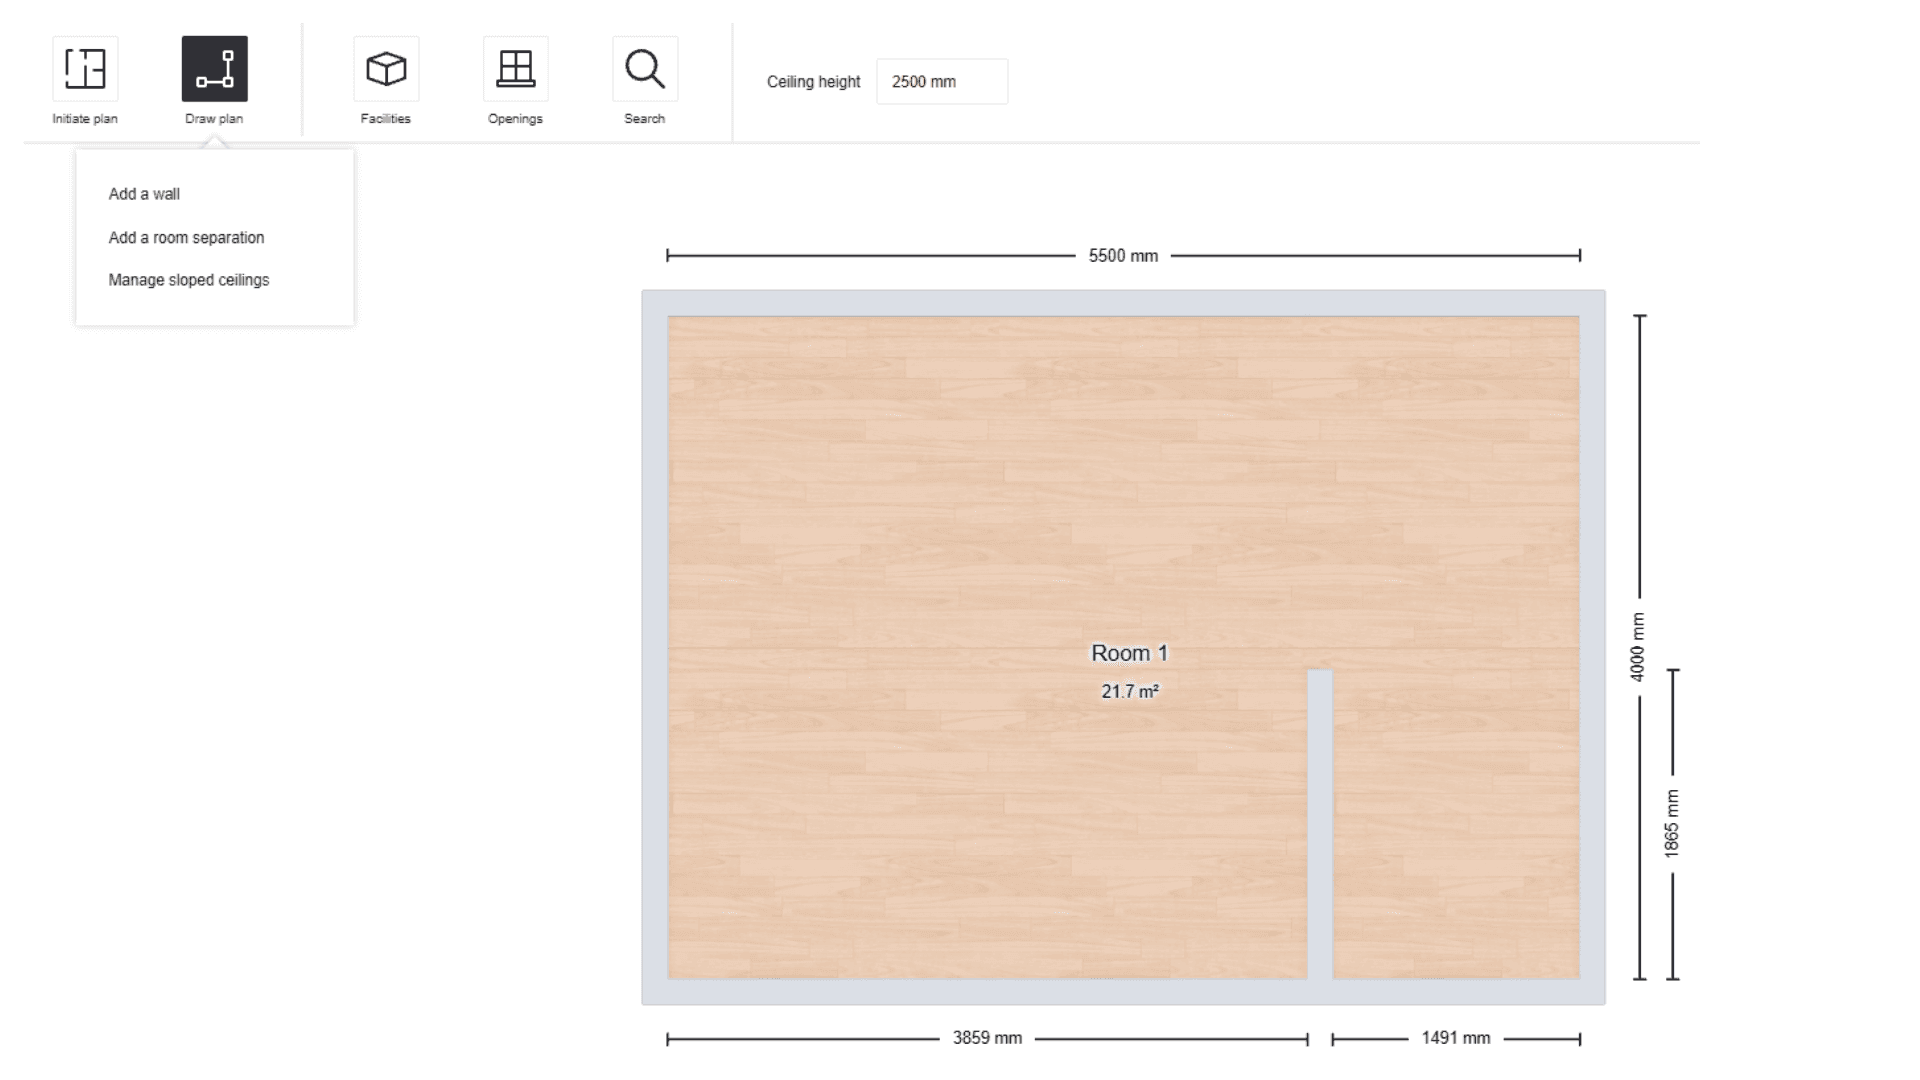
You can add walls, room separations and sloped ceilings by clicking on the ‘Draw plan’ icon in the top left corner.
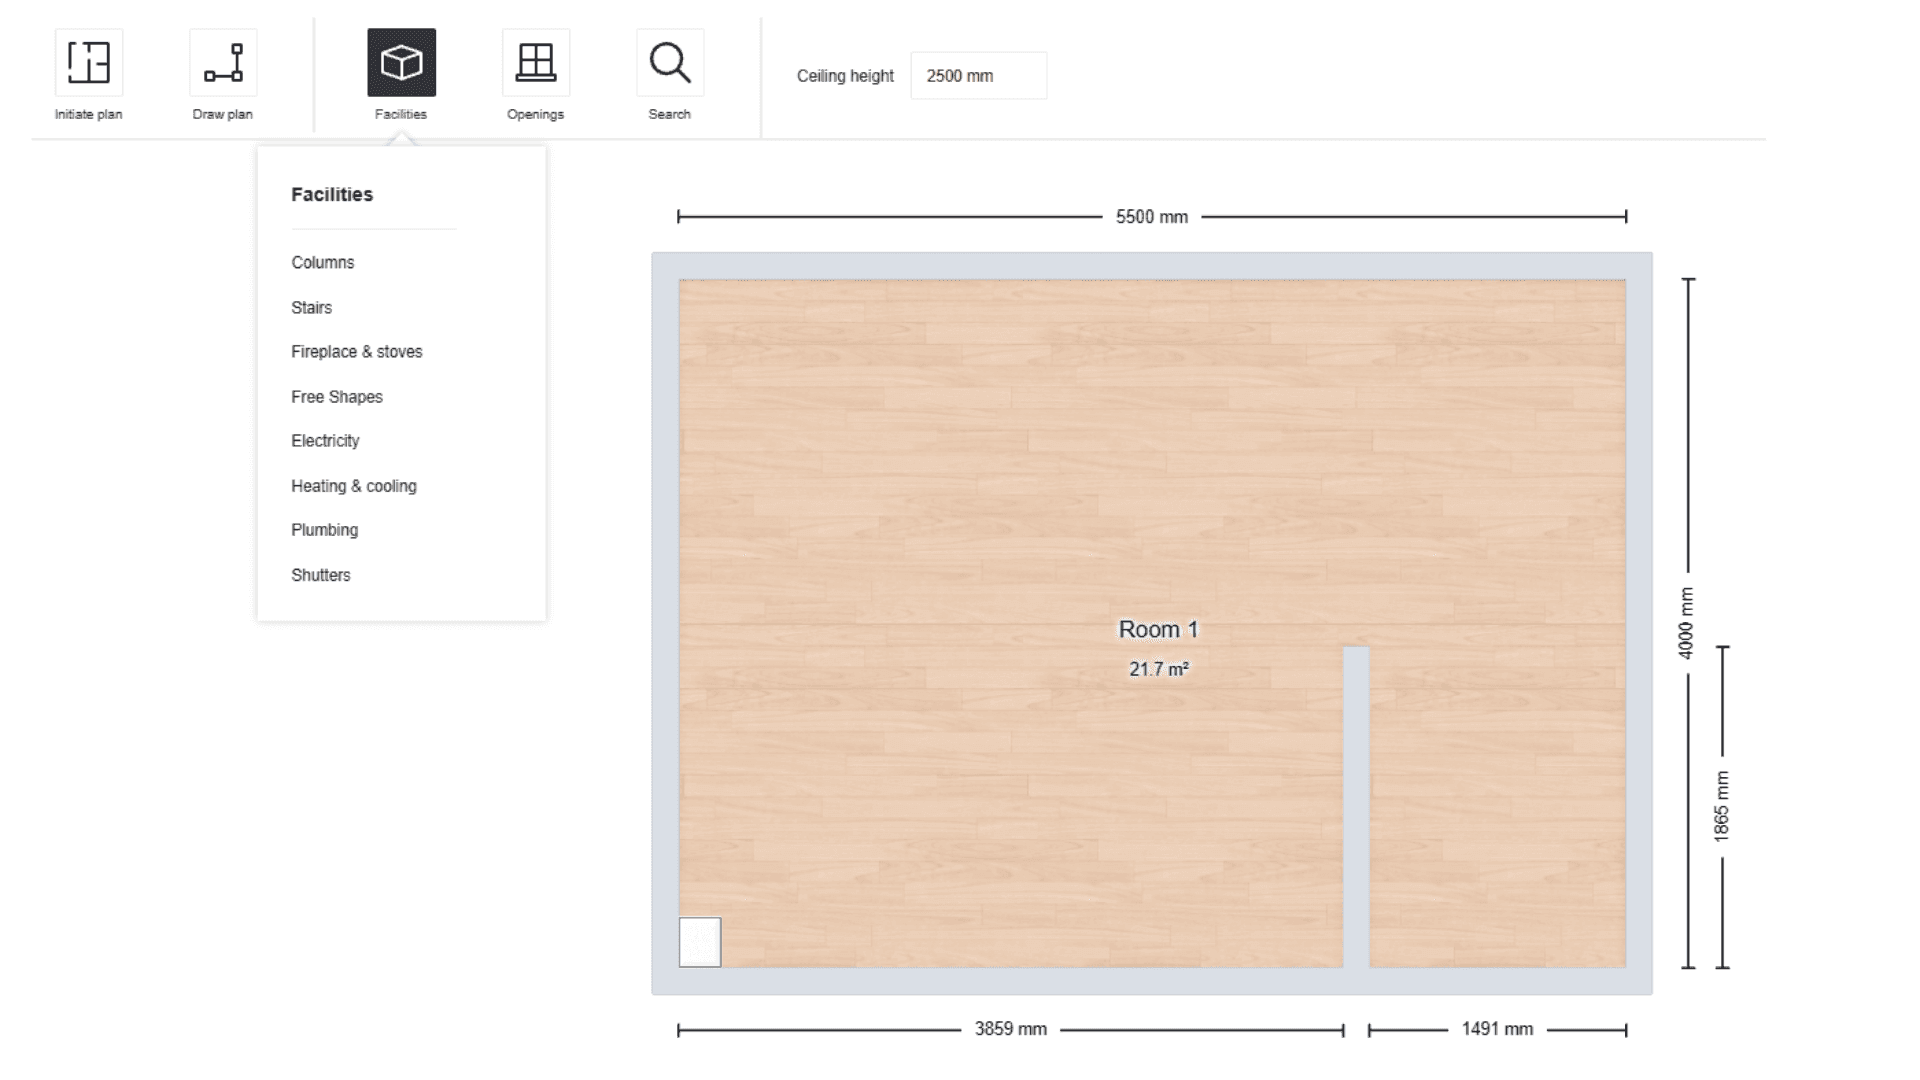
Now it’s time to add all the existing parts of your room to the design, such as columns, fireplaces and stoves, stairs and so on.
When you have added your items, you can view the plan in 3D by clicking on the 3D icon at the bottom of your plan. Then you can drag your mouse over the plan to move it around and view it from different angles.
When you are happy with the facilities and structural details of your floorplan, you can add windows and doors by clicking on the ‘openings’ icon in the top menu.
If you can’t find the item you are looking for in the list of facilities and openings provided, you can click on the search icon to look for other items. Simply start typing the item you are looking for, and options will be displayed which you can choose from.
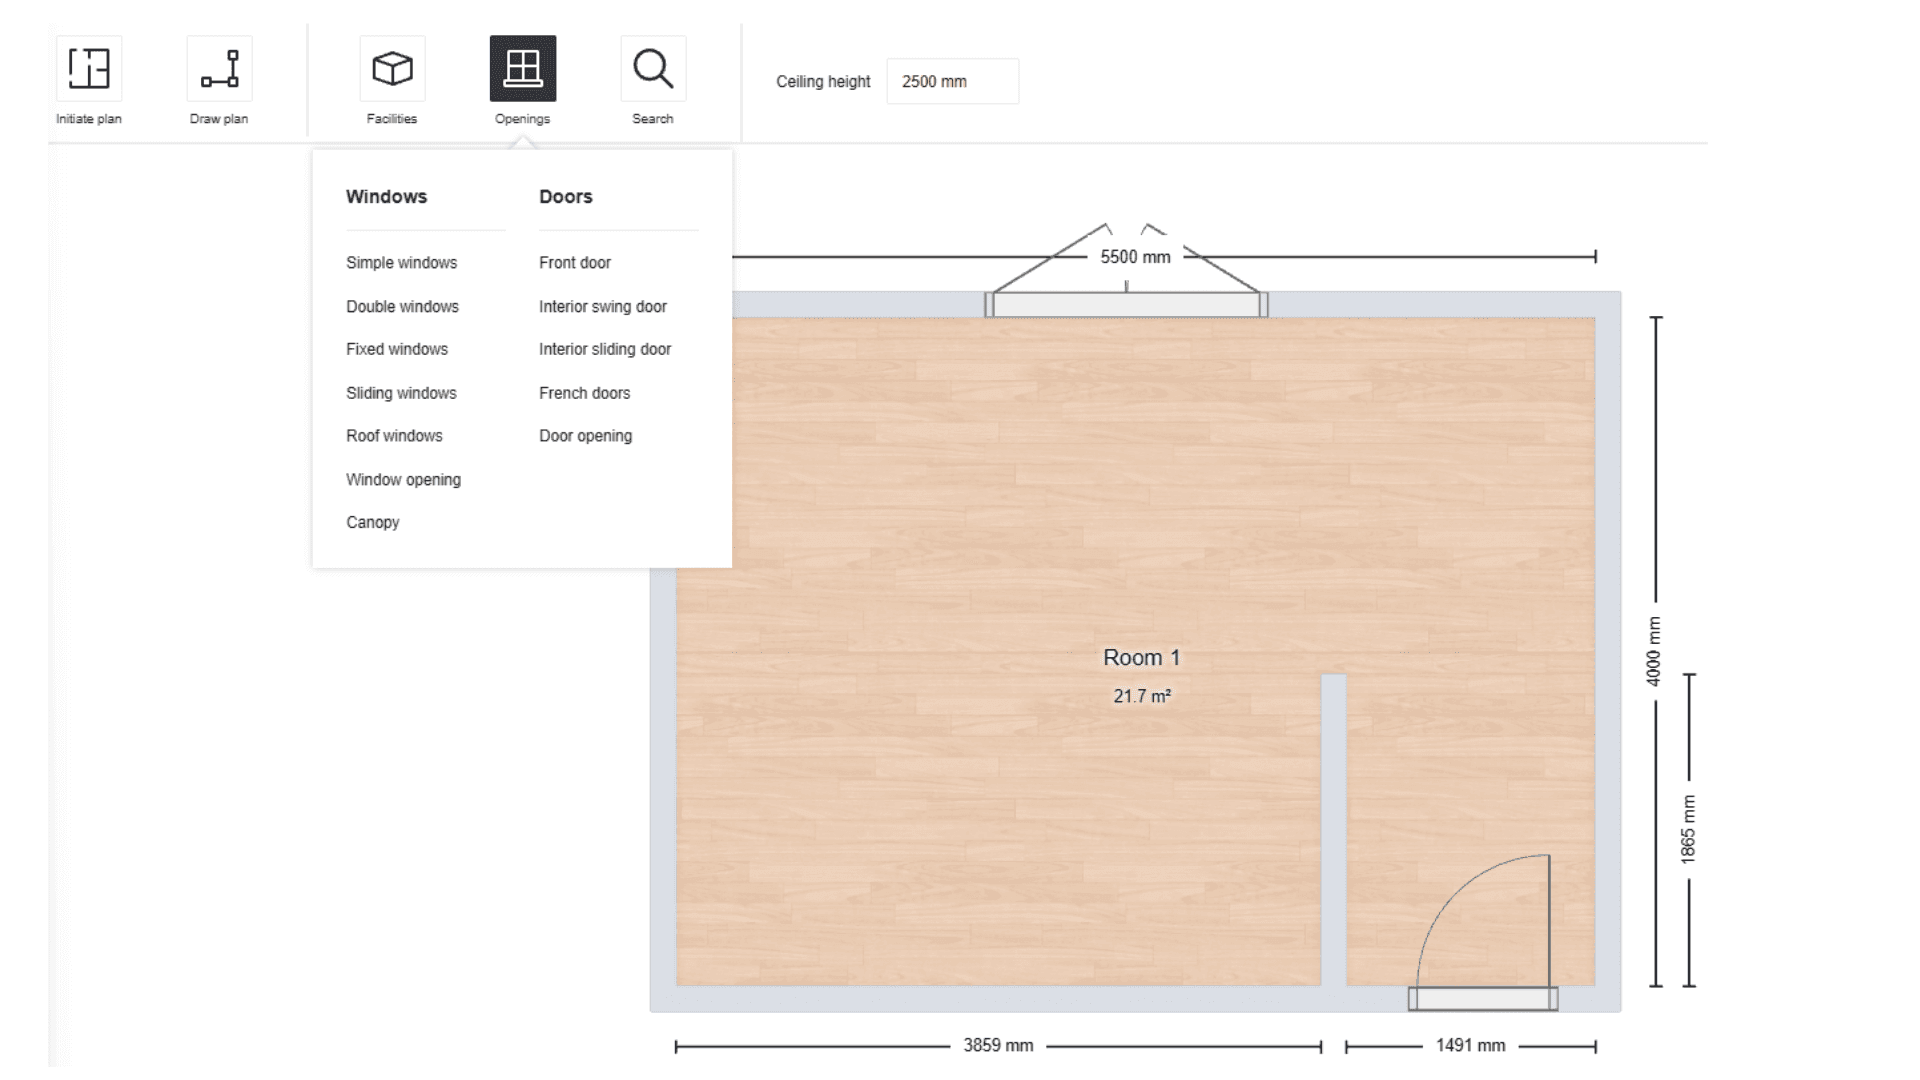
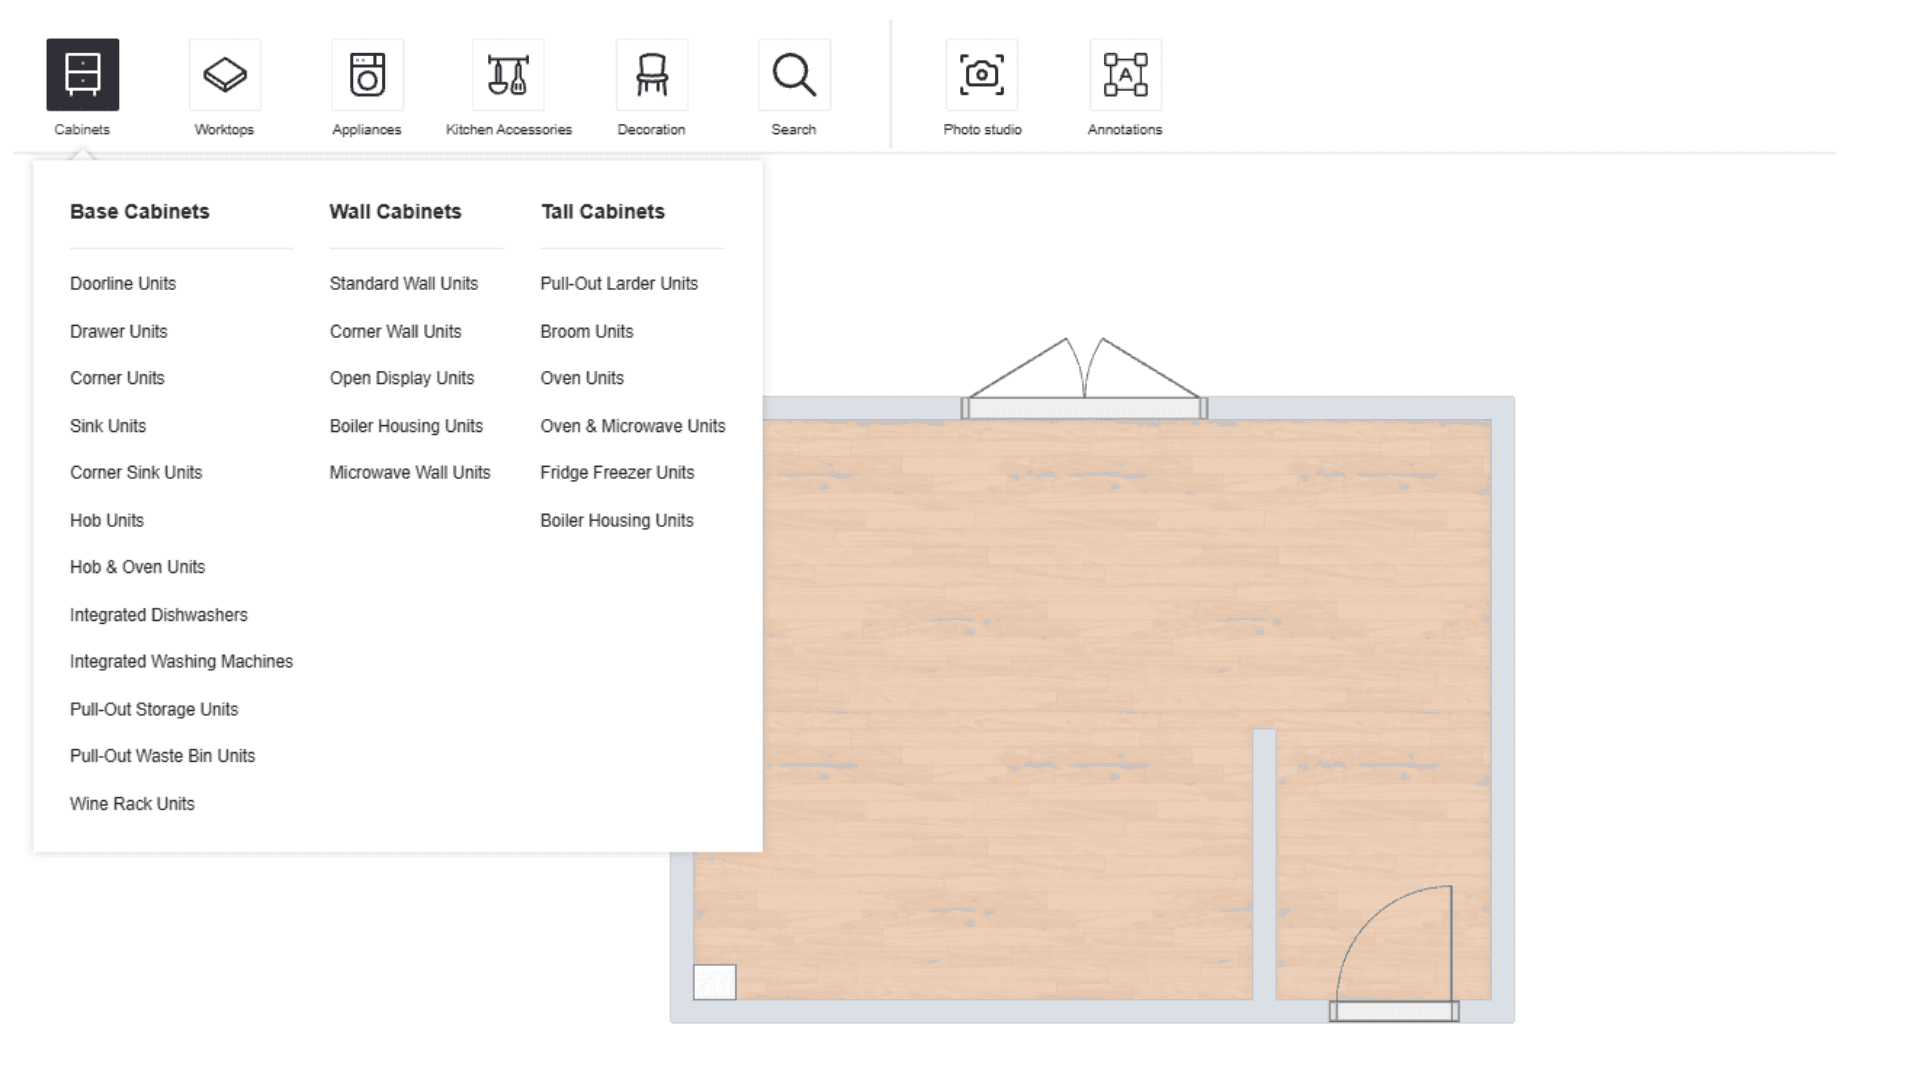
Right, now for the fun part. Click on ‘Design your kitchen’ in the very top menu to start creating your kitchen plan.
Include everything you need in your kitchen from top to bottom. Don’t forget the panels too!
The units in our planning tool are helpfully separated into categories, so you should be able to find your perfect unit quickly.
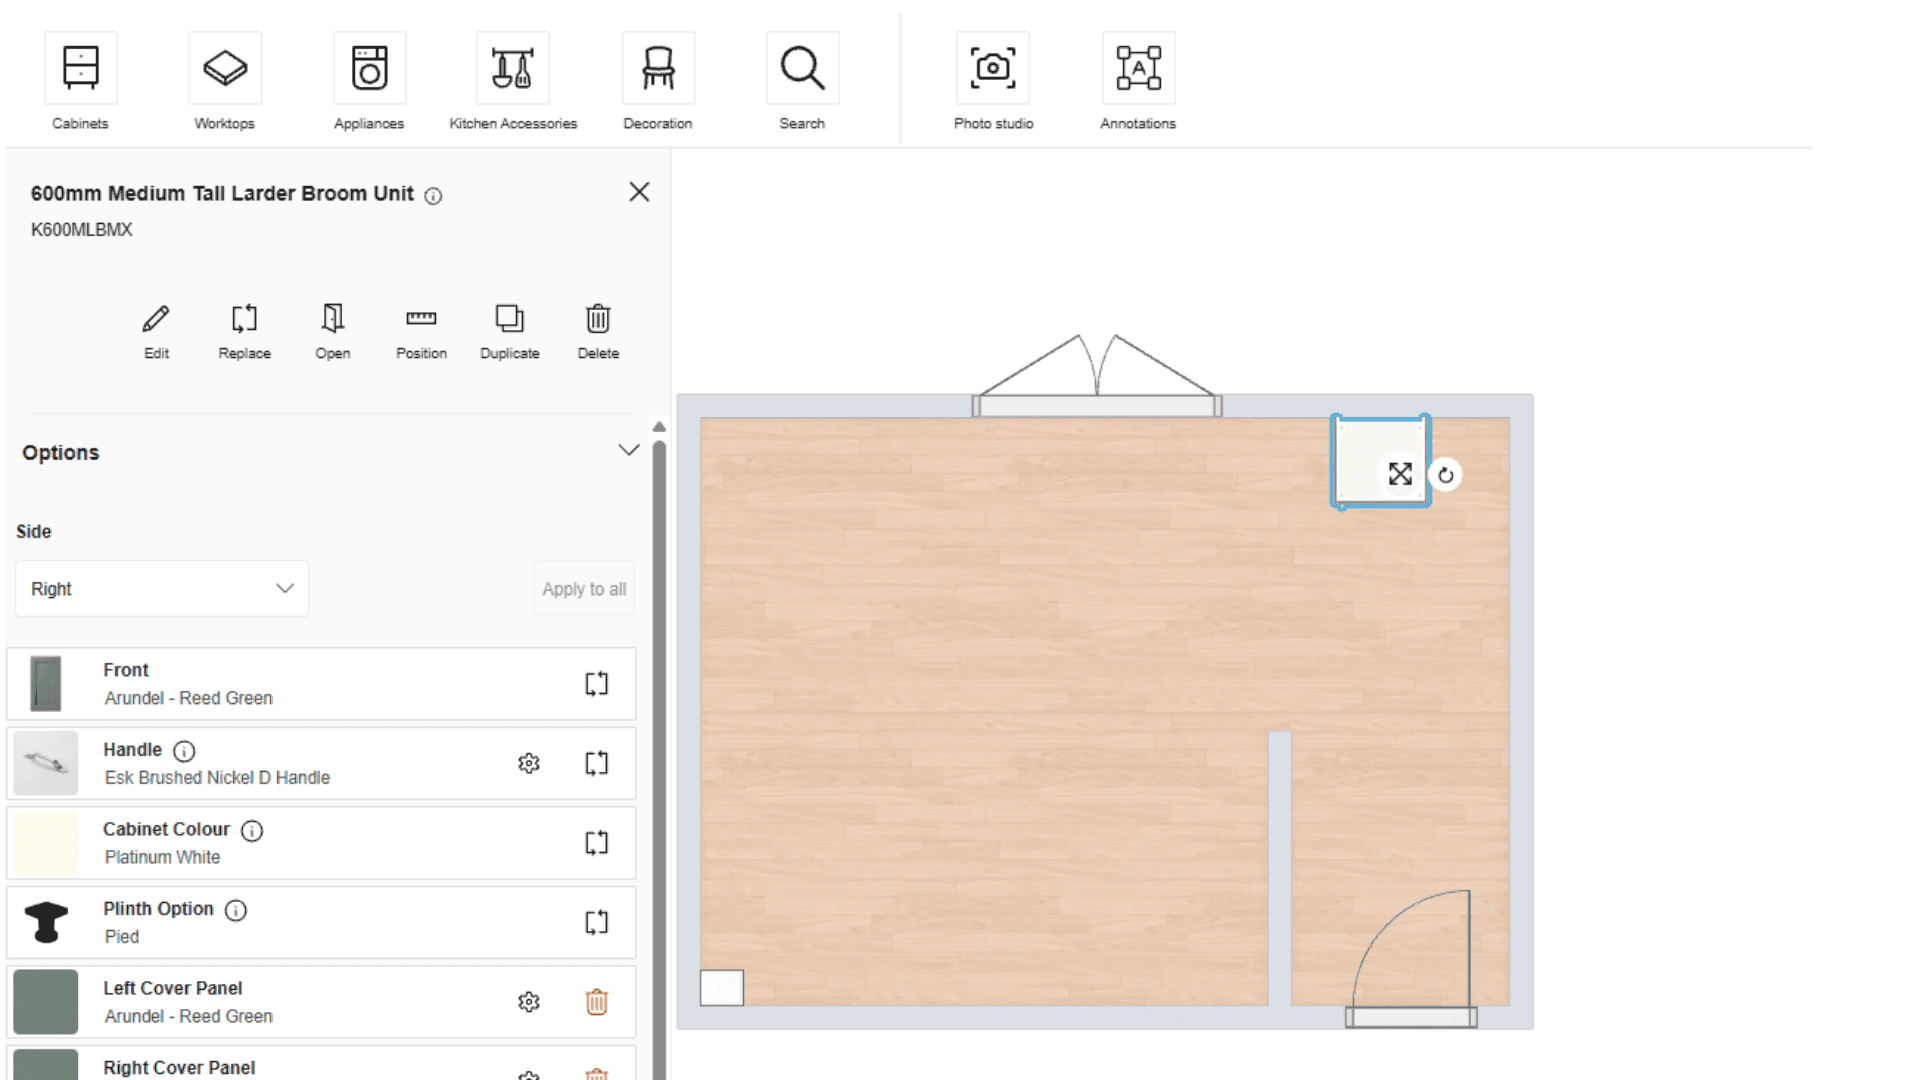
What side do you want your handle? After selecting your unit, click ‘edit’ to choose between left and right handings. Here you can also change the door and handle style by clicking on ‘replace’.
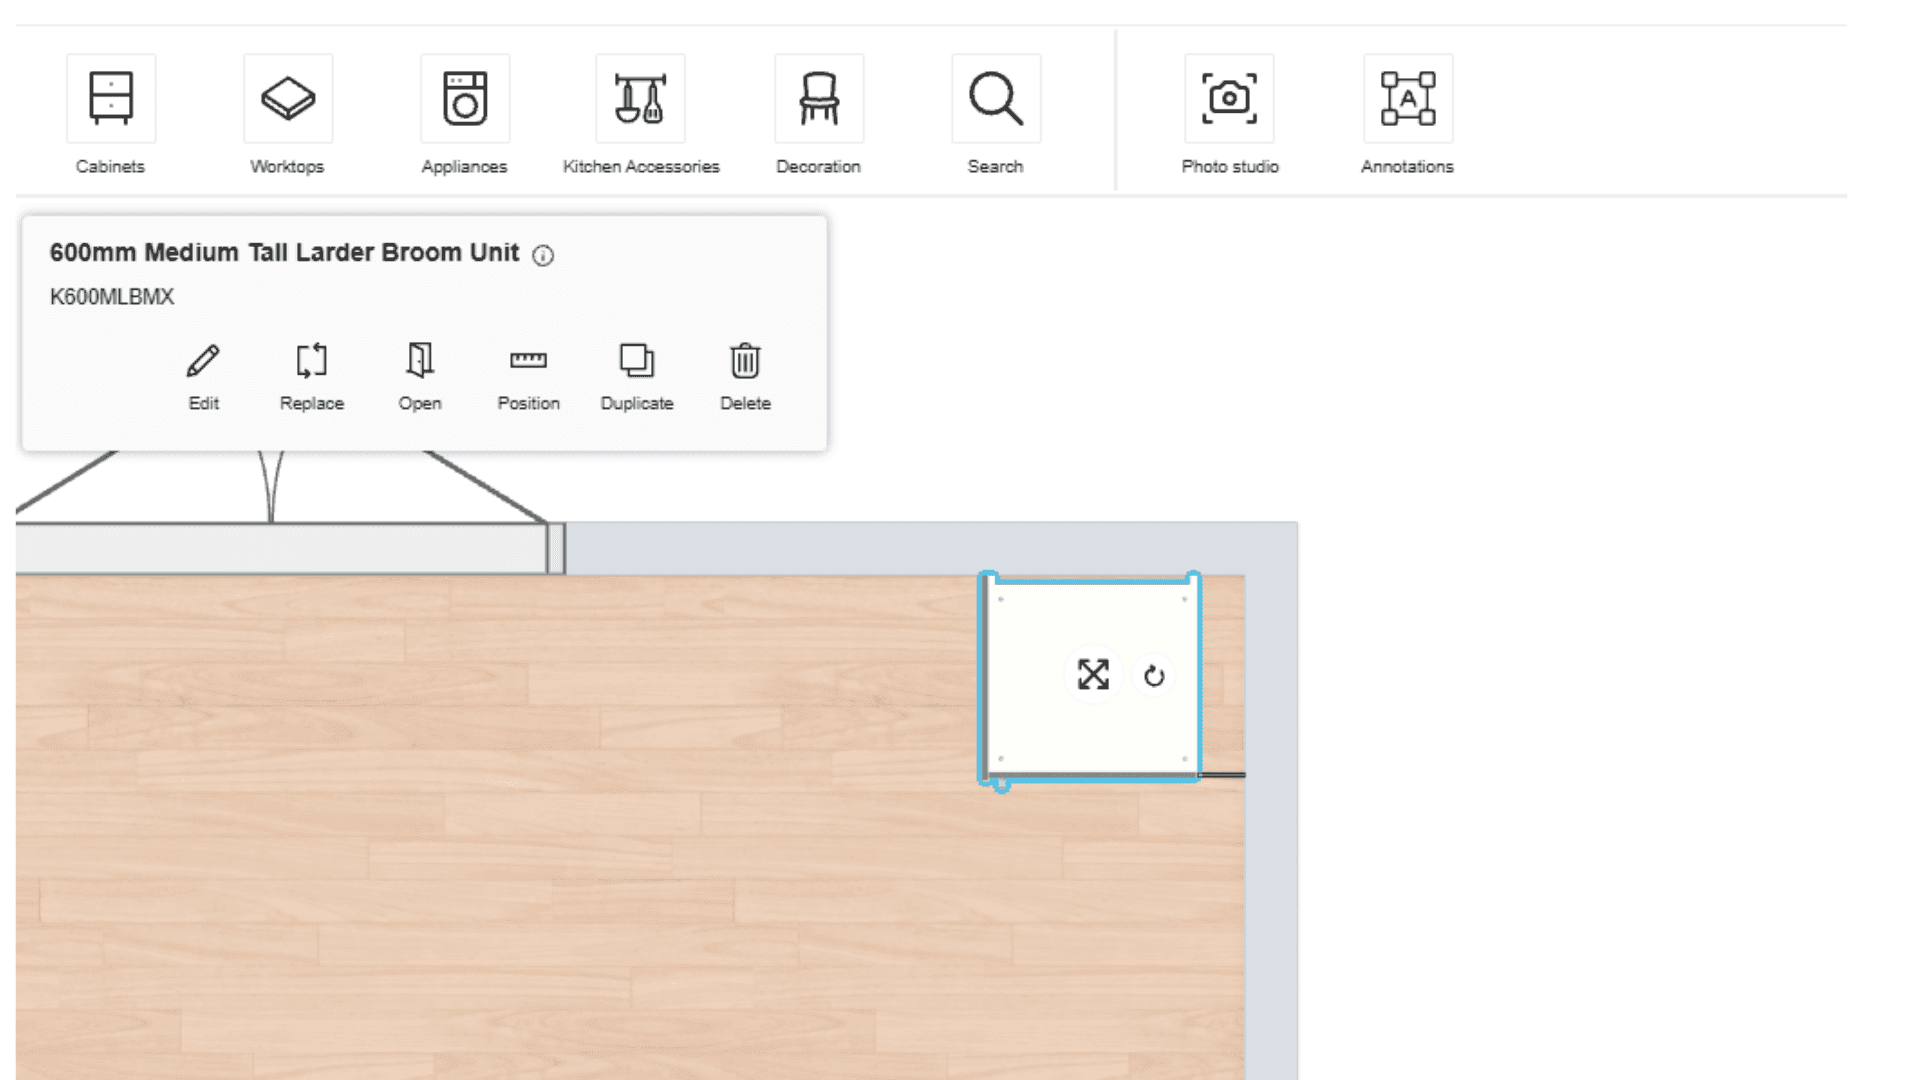
It’s best not to butt a unit right up against a wall. When you add a unit close to a wall, an infill panel is automatically added for you.
If you click on a unit, you’ll also notice you have an option to add a cover panel. This adds a panel to the exposed side of your unit. For example, without a panel, this tall unit will show the cabinet material, not the door material.
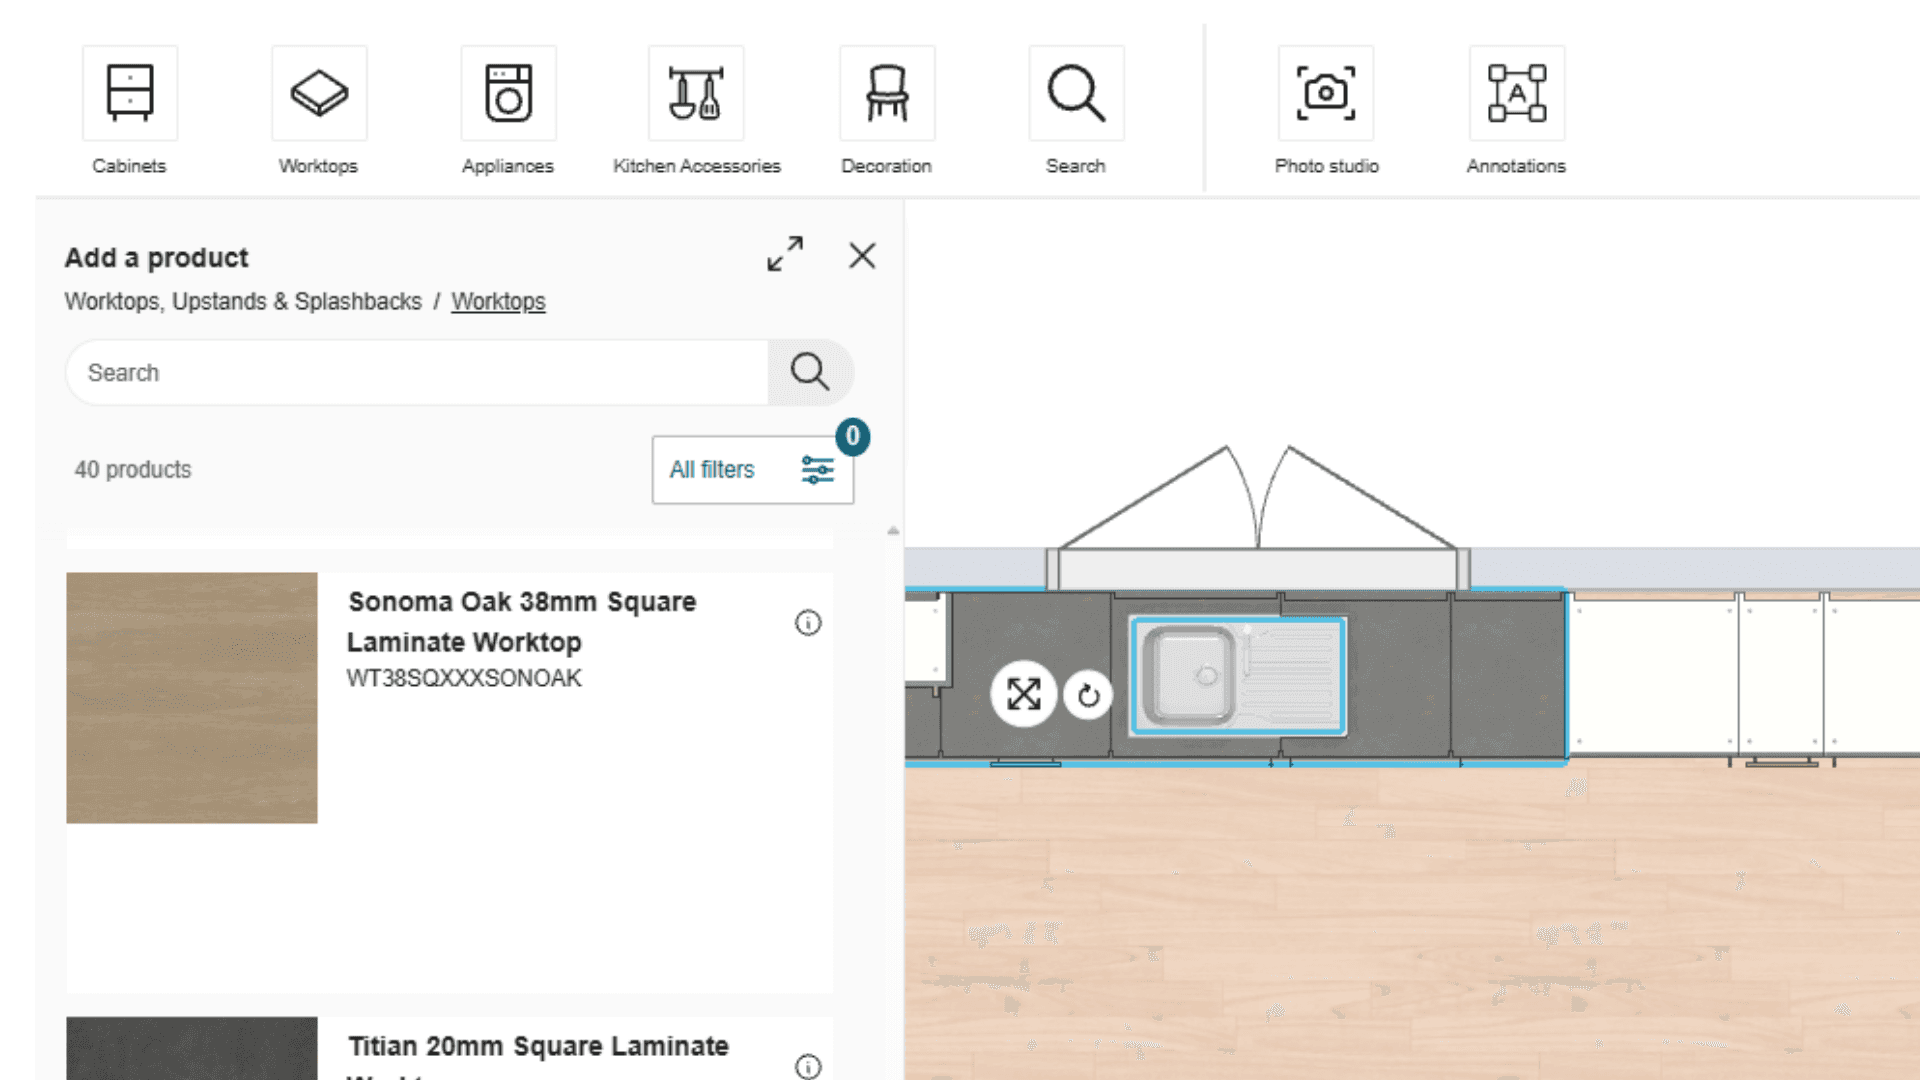
Scroll through our selection of worktops and select the one you fancy. Click ‘edit’ to change the width and depth to suit. The worktops menu is also where you can find our upstands. Click ‘edit’ to change the width to suit.
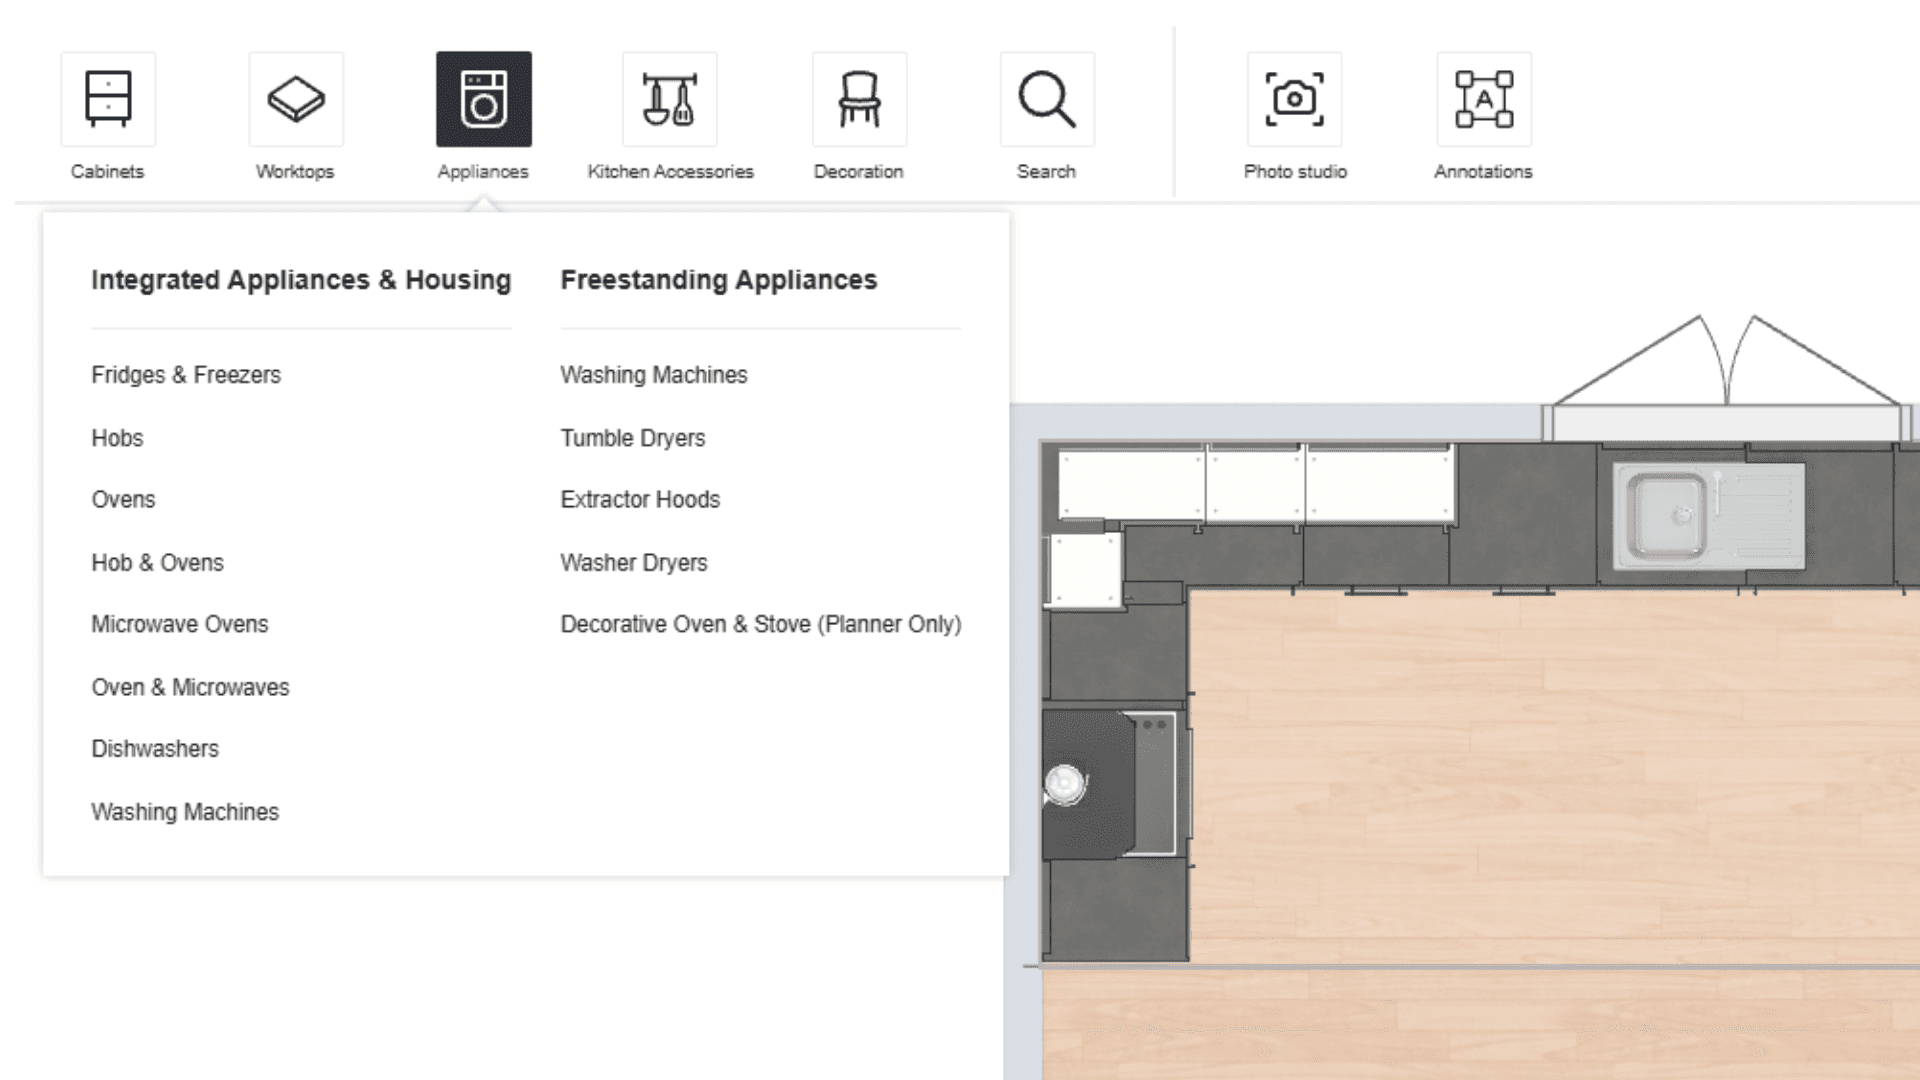
Next on the agenda is appliances. Scroll through our selection of appliances, or search for one if you’ve already been looking on our site and add it into your plan.
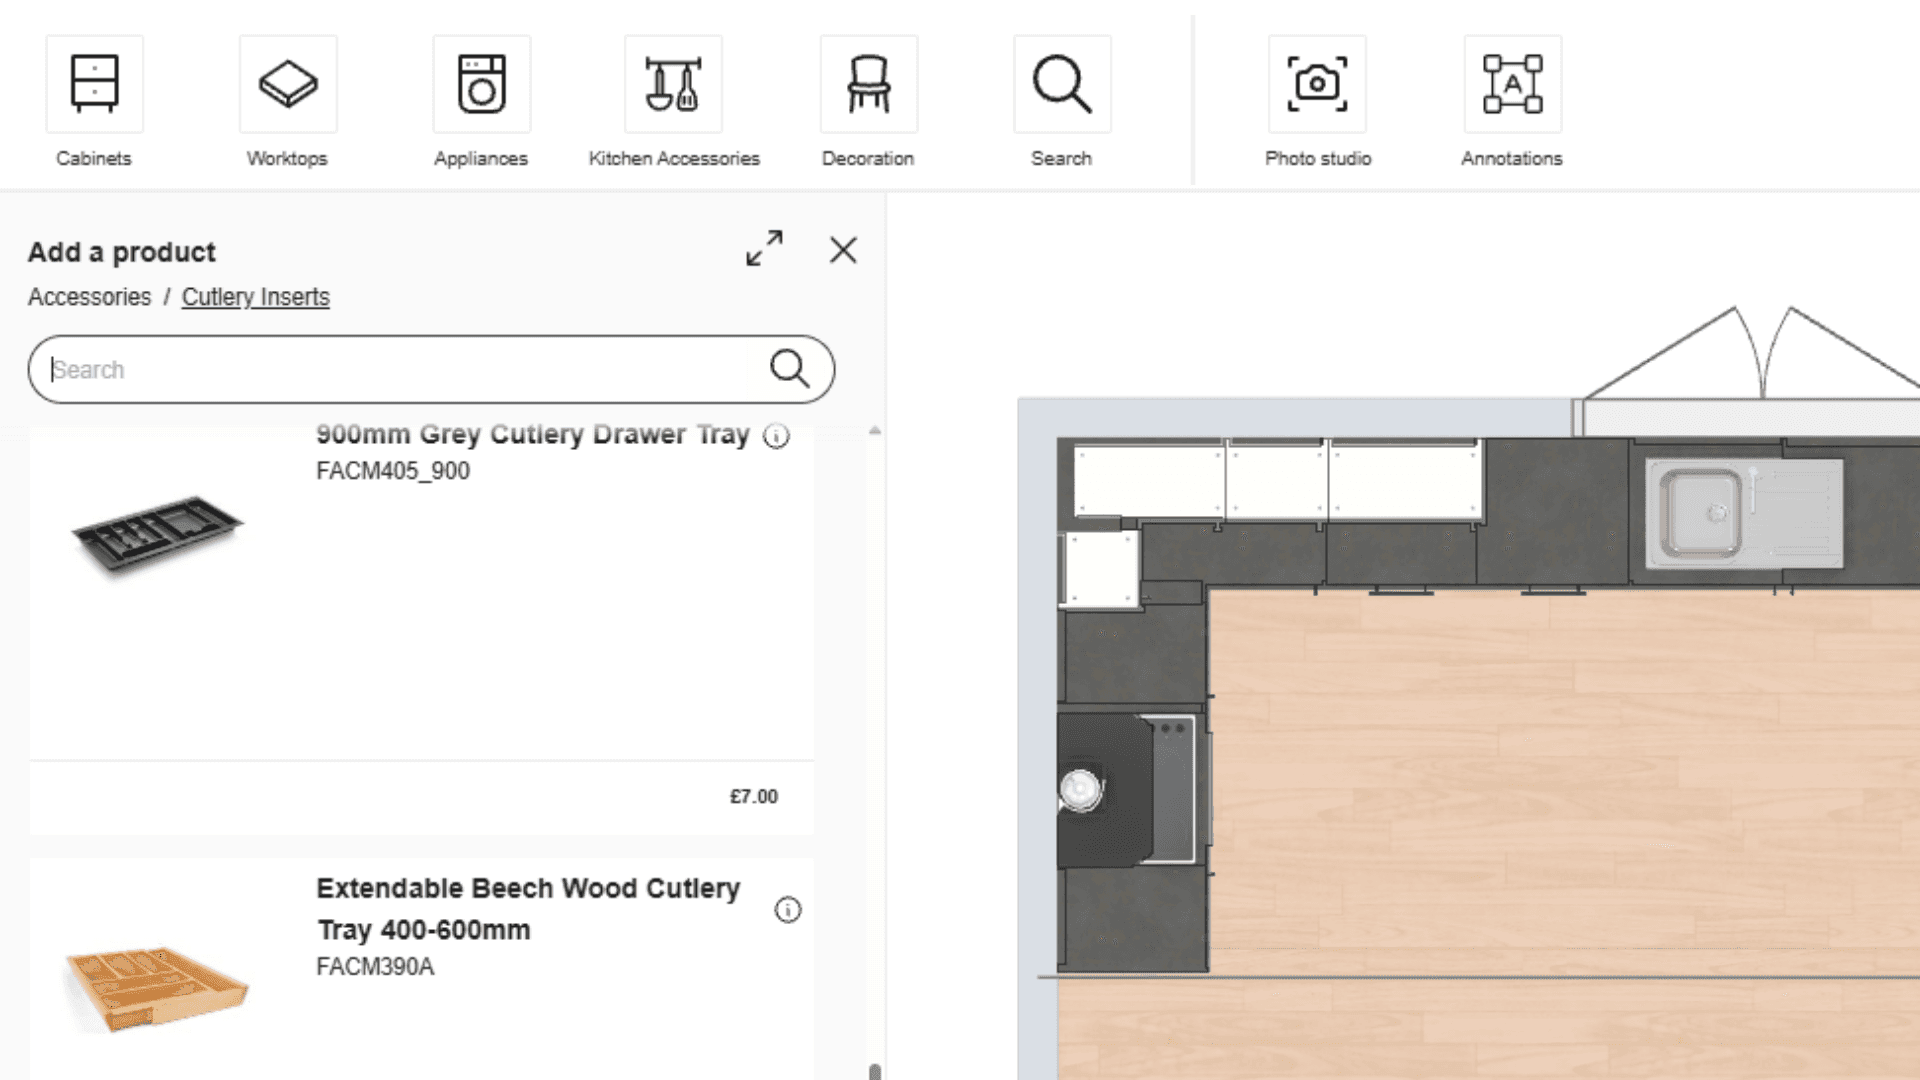
If you want bins, cutlery trays or lighting, the accessories tab is for you. You won’t be able to see these on your kitchen design plan but selecting them will still add them in behind the scenes.
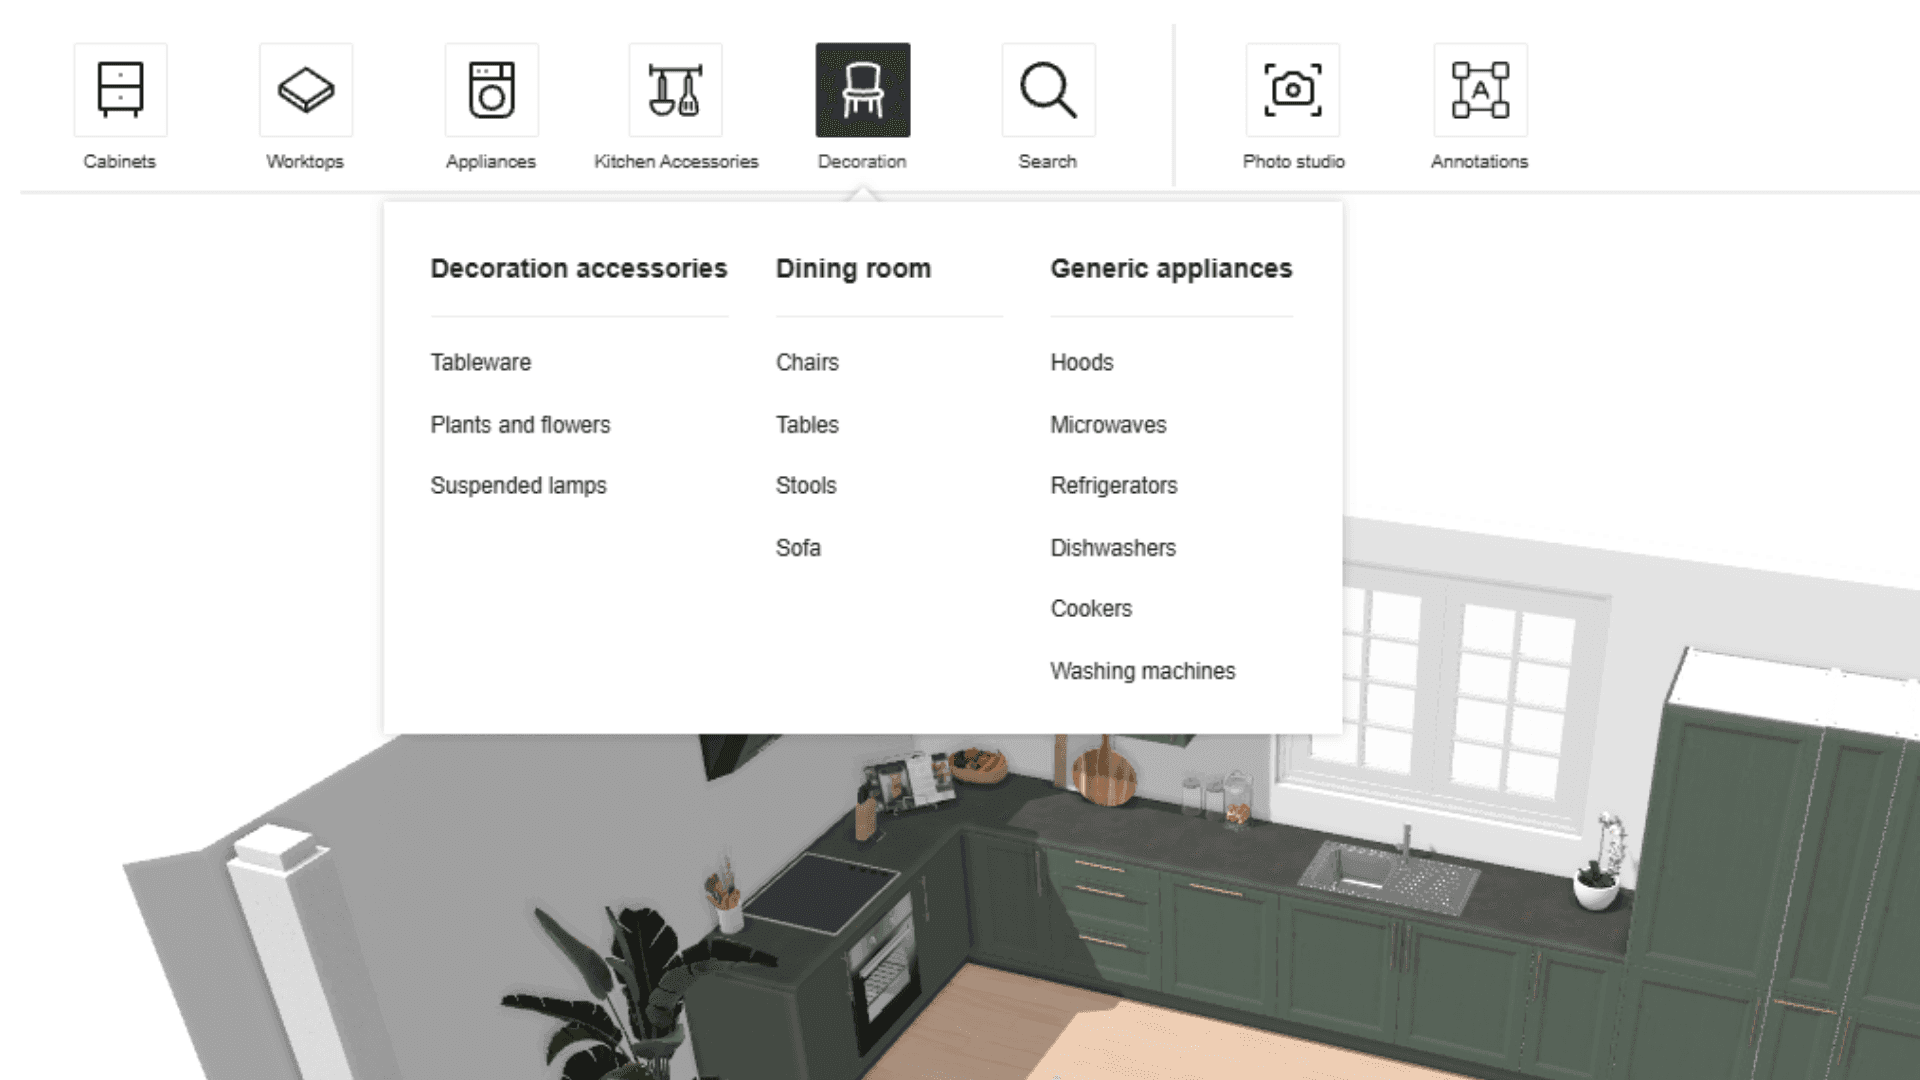
Adding decoration lets you start really planning your kitchen. Where’s the kettle going? How many jars can I squeeze in? What about my houseplants? Can we still fit our table and chairs? All those questions can be answered here.
Click on the decoration tab and start getting creative.
Our planning tool lets you see your newly designed kitchen from 4 views.
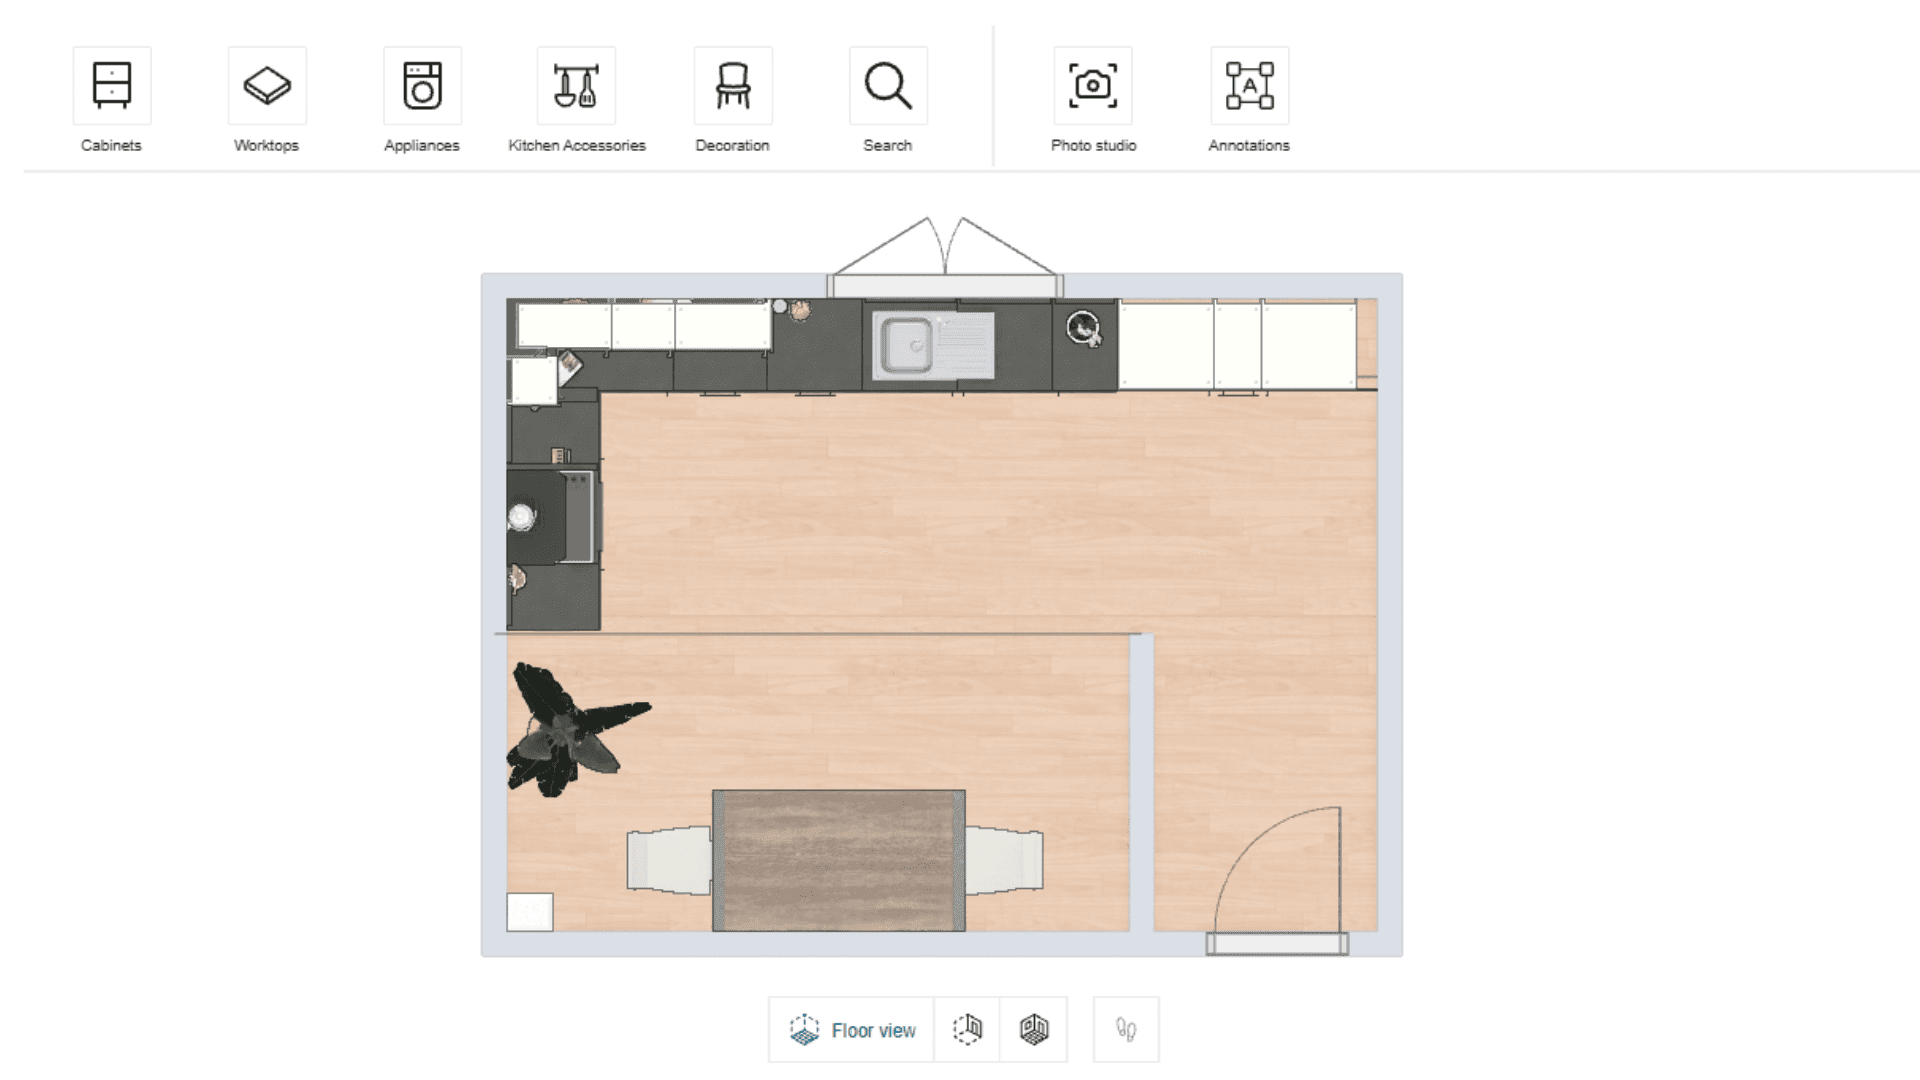
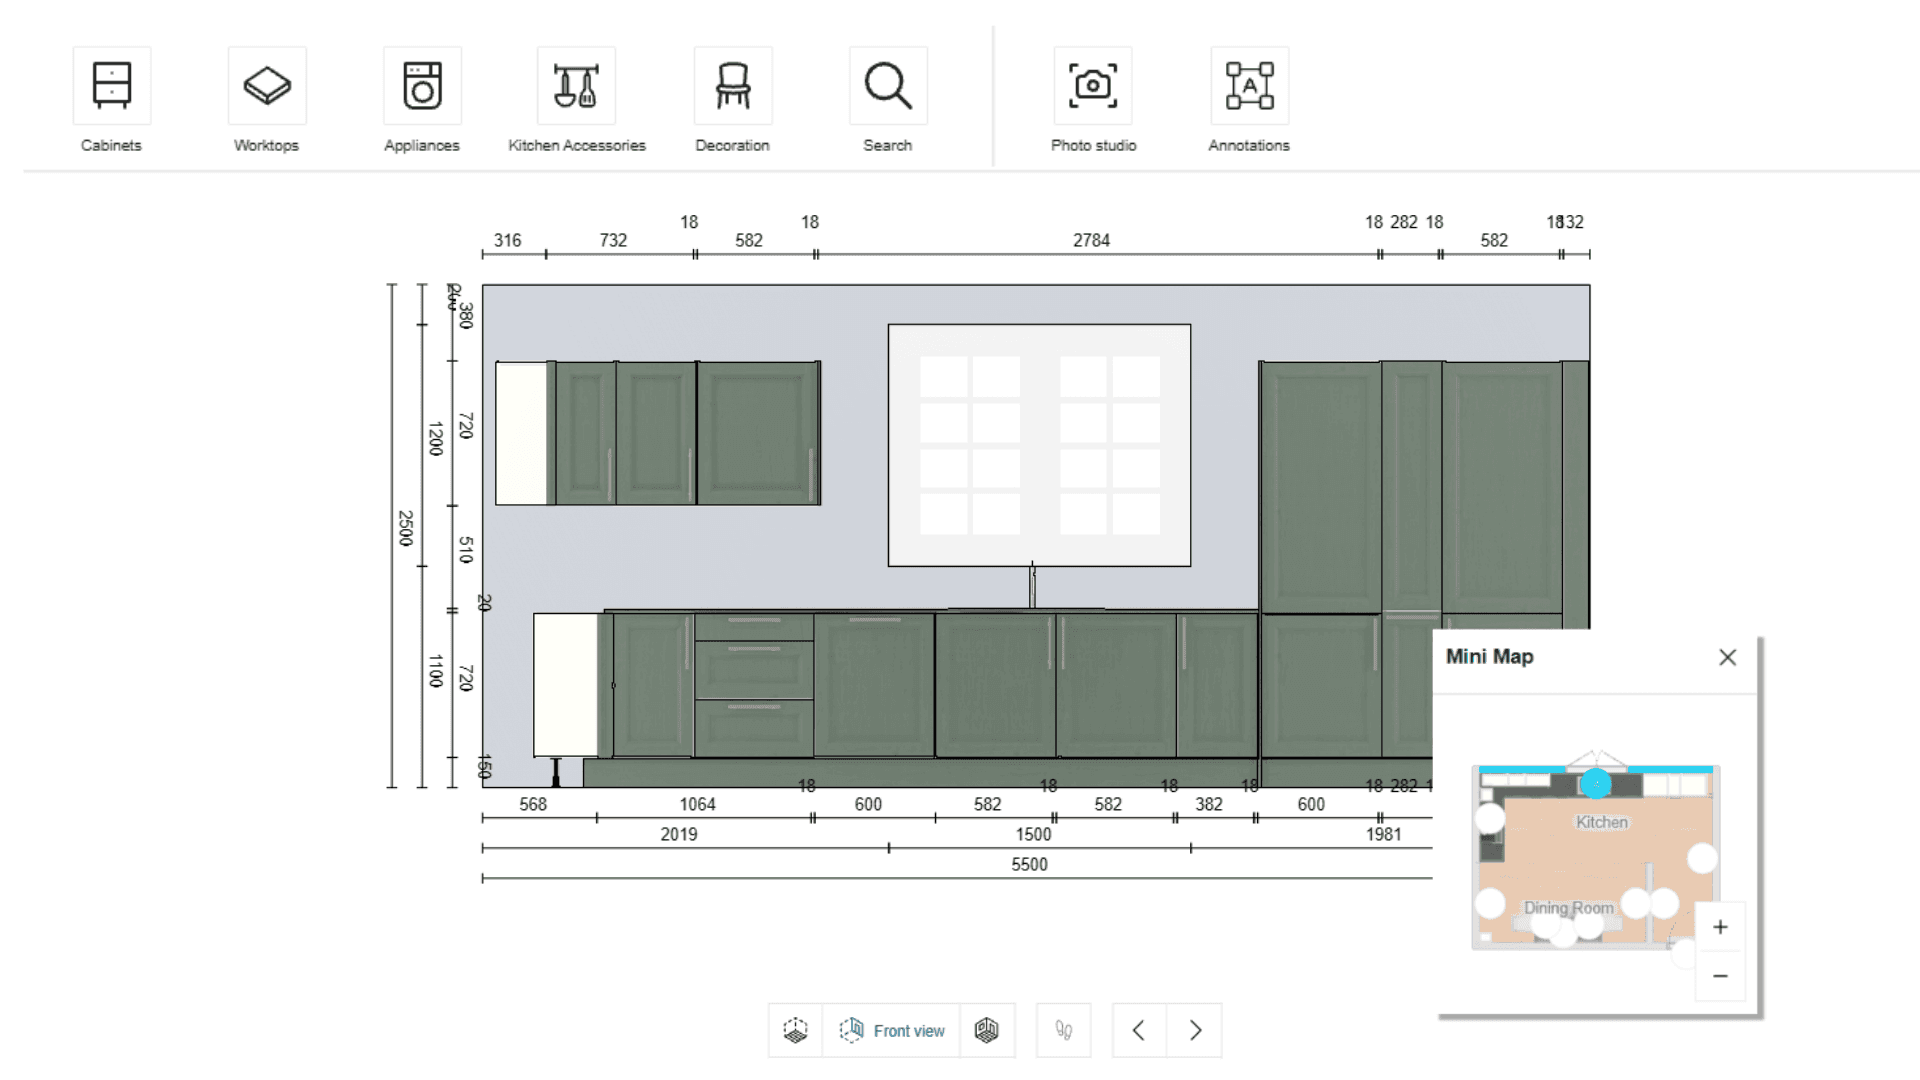
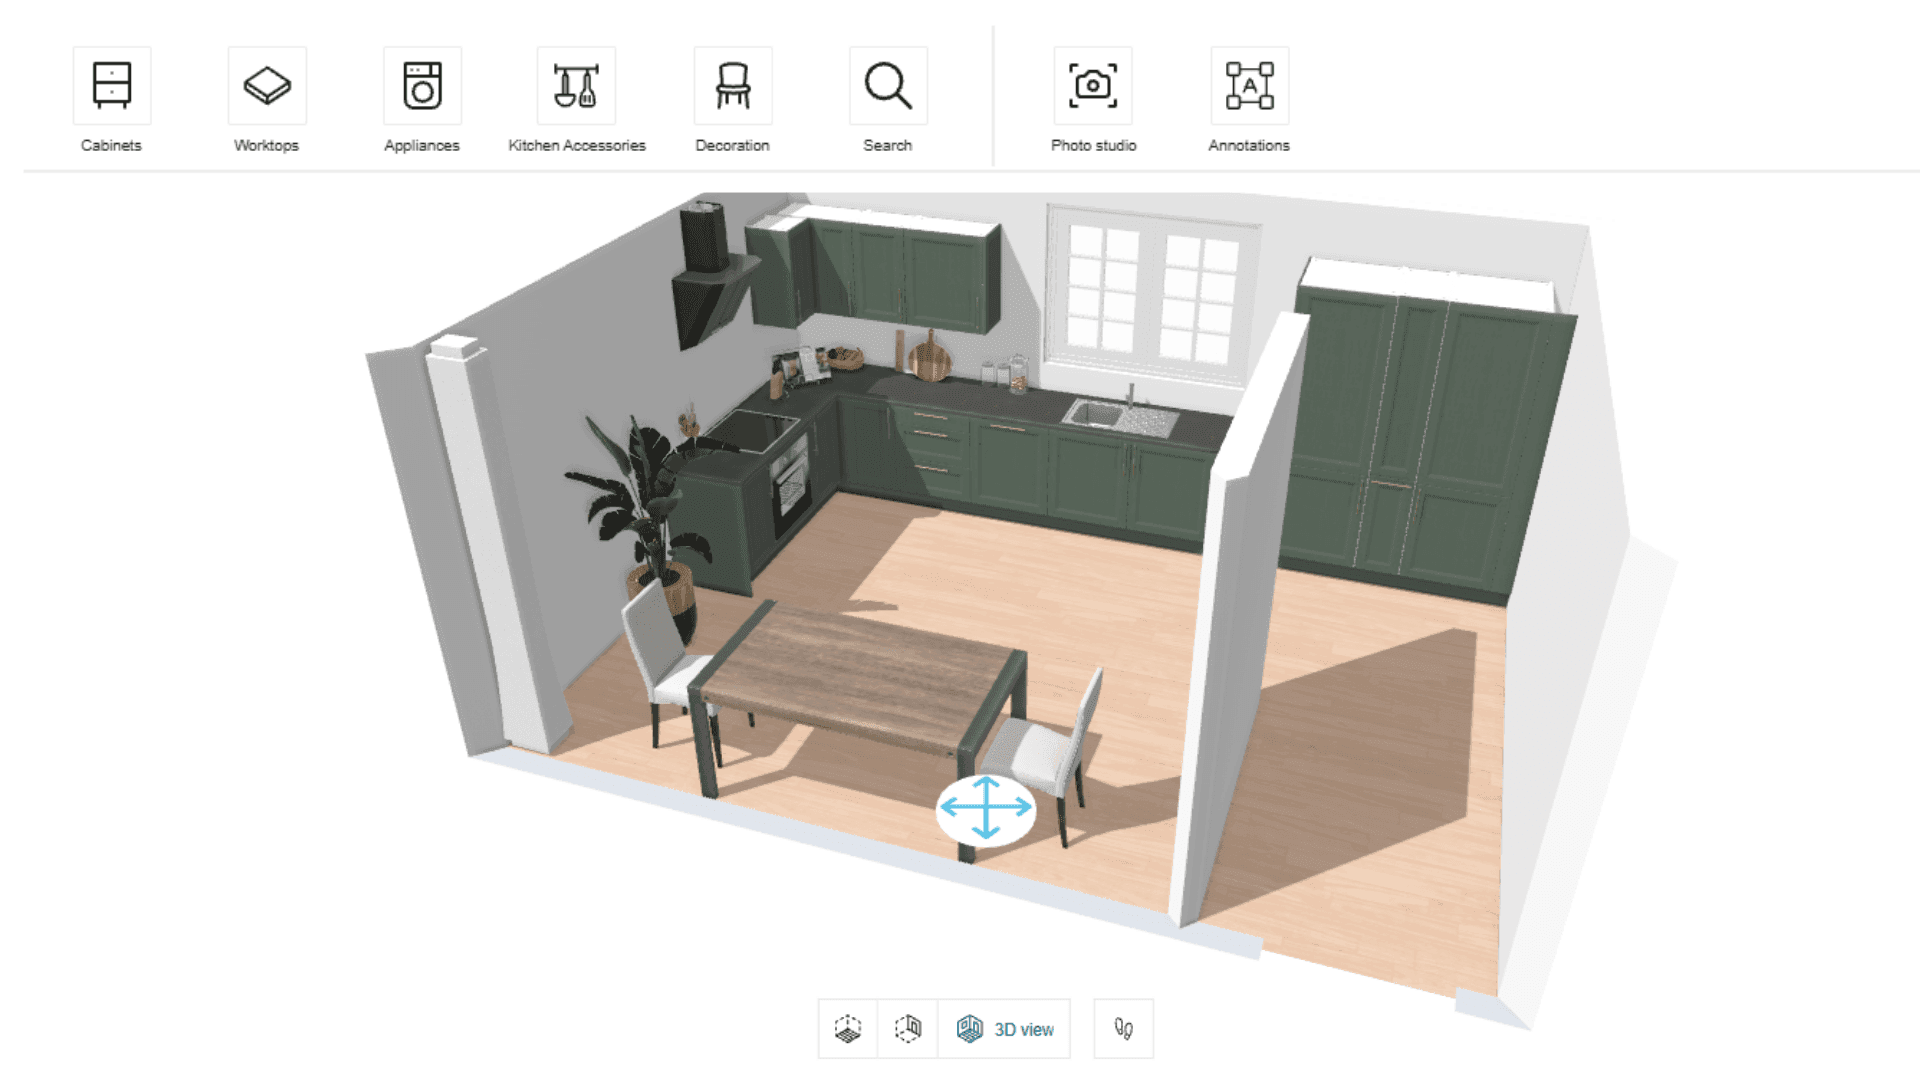
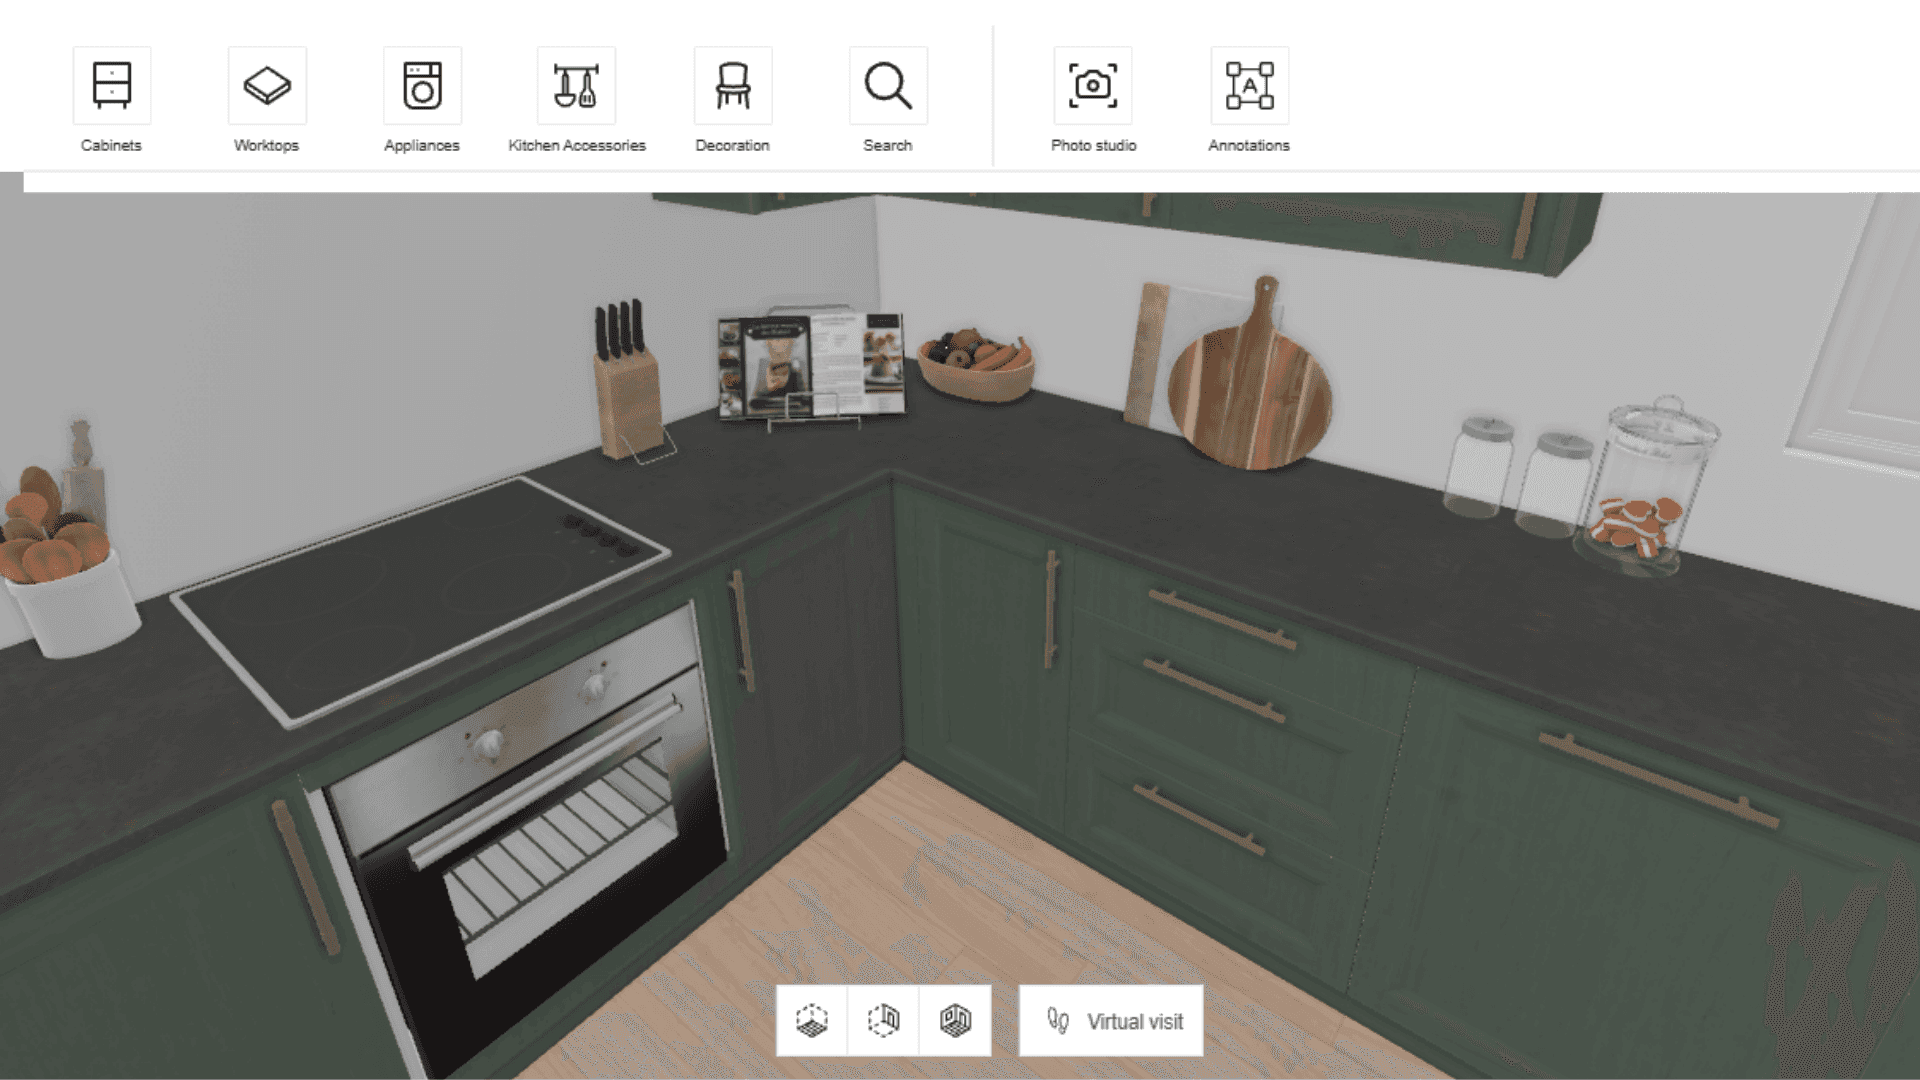
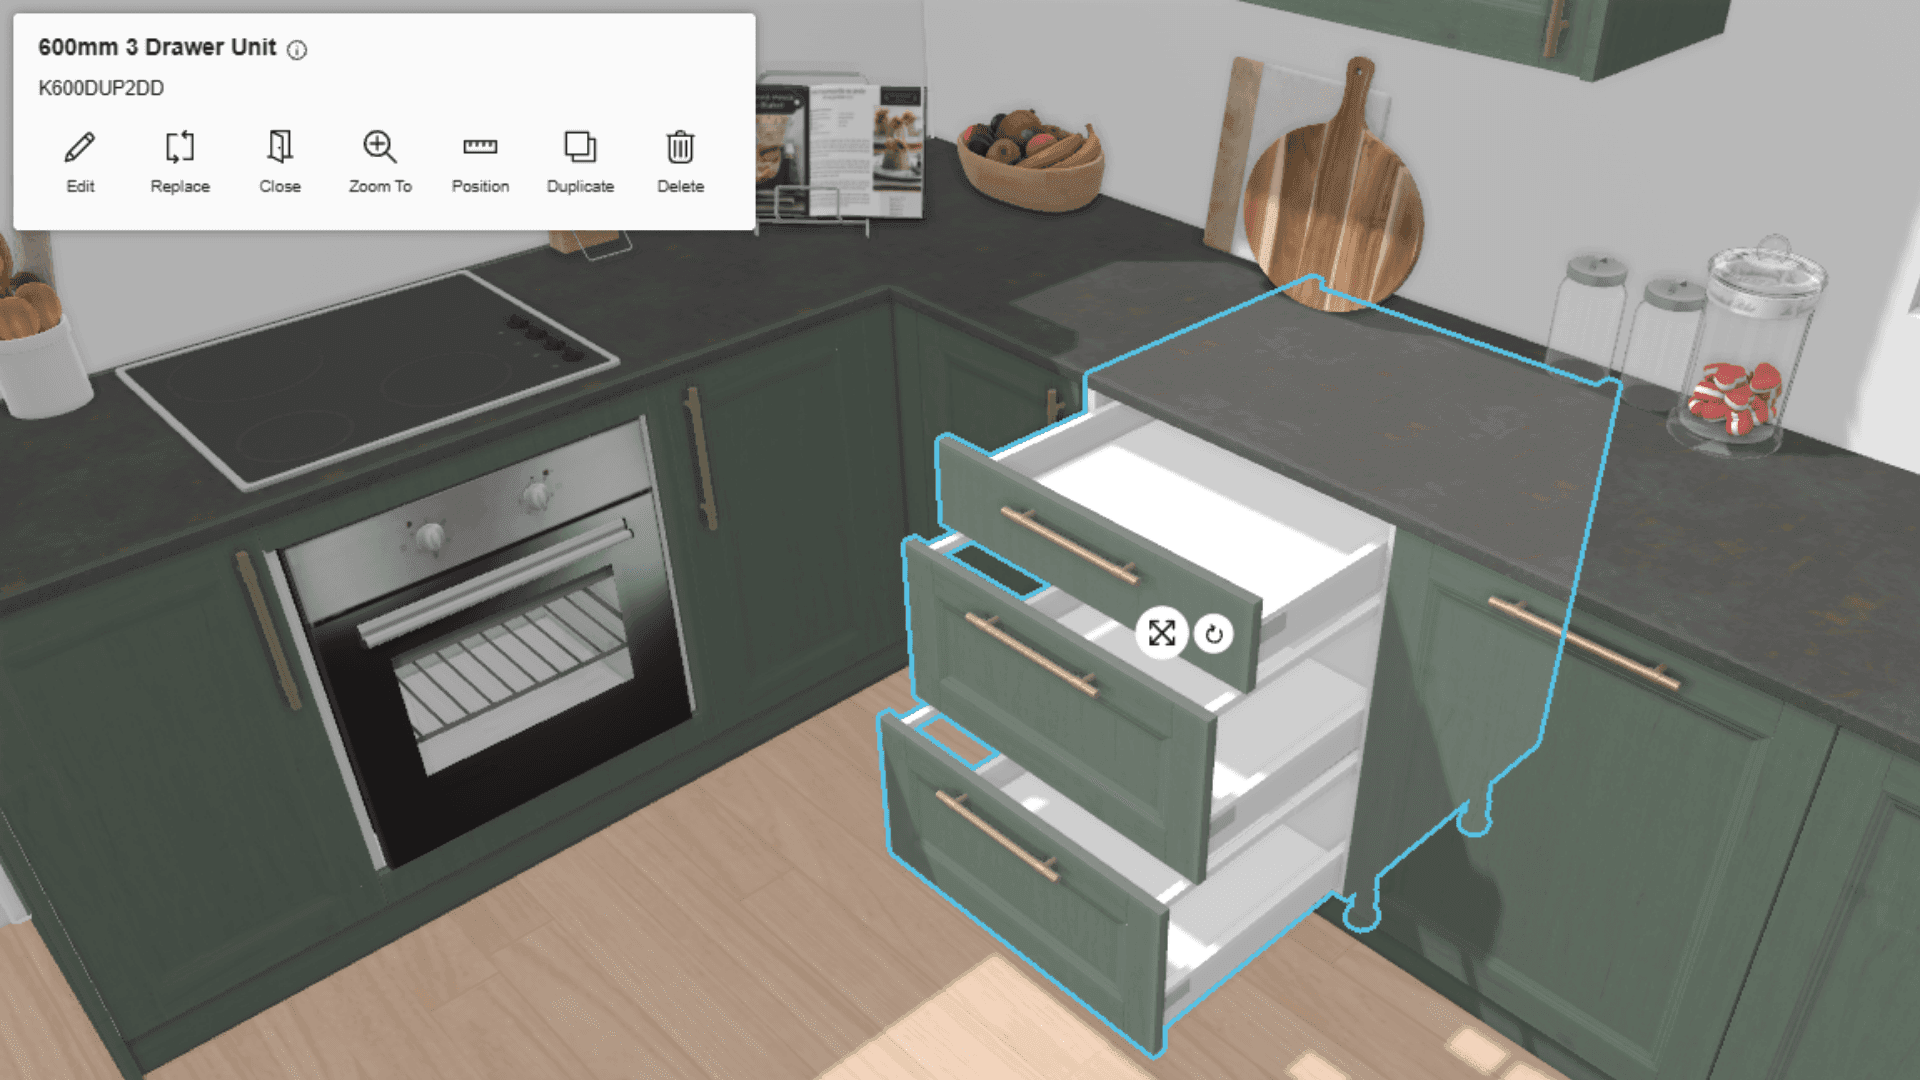
Clicking on a unit will open up a menu on the left hand side. Click ‘open’ to see the unit open in real time. Want it to look neat and tidy again? Click ‘close’ to shut all the doors and drawers again.
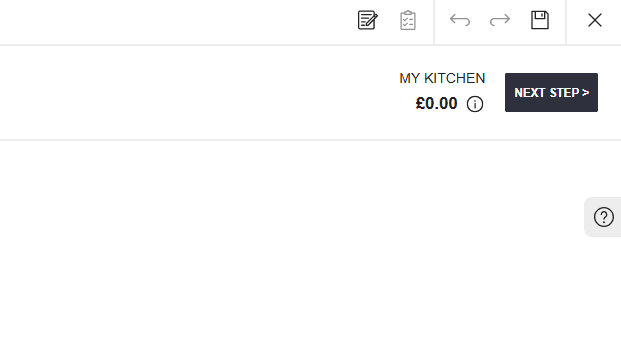
We’ve all done it. Spent ages working on something and then an error occurs and you lose all your work. Up on the top right hand corner, you’ll see the universal sign document saving, the floppy disk. Click this and you’ll be able to save your design.
Now when you go into your Paula Rosa Kitchens account, you'll be able to see all your saved plans in one place.
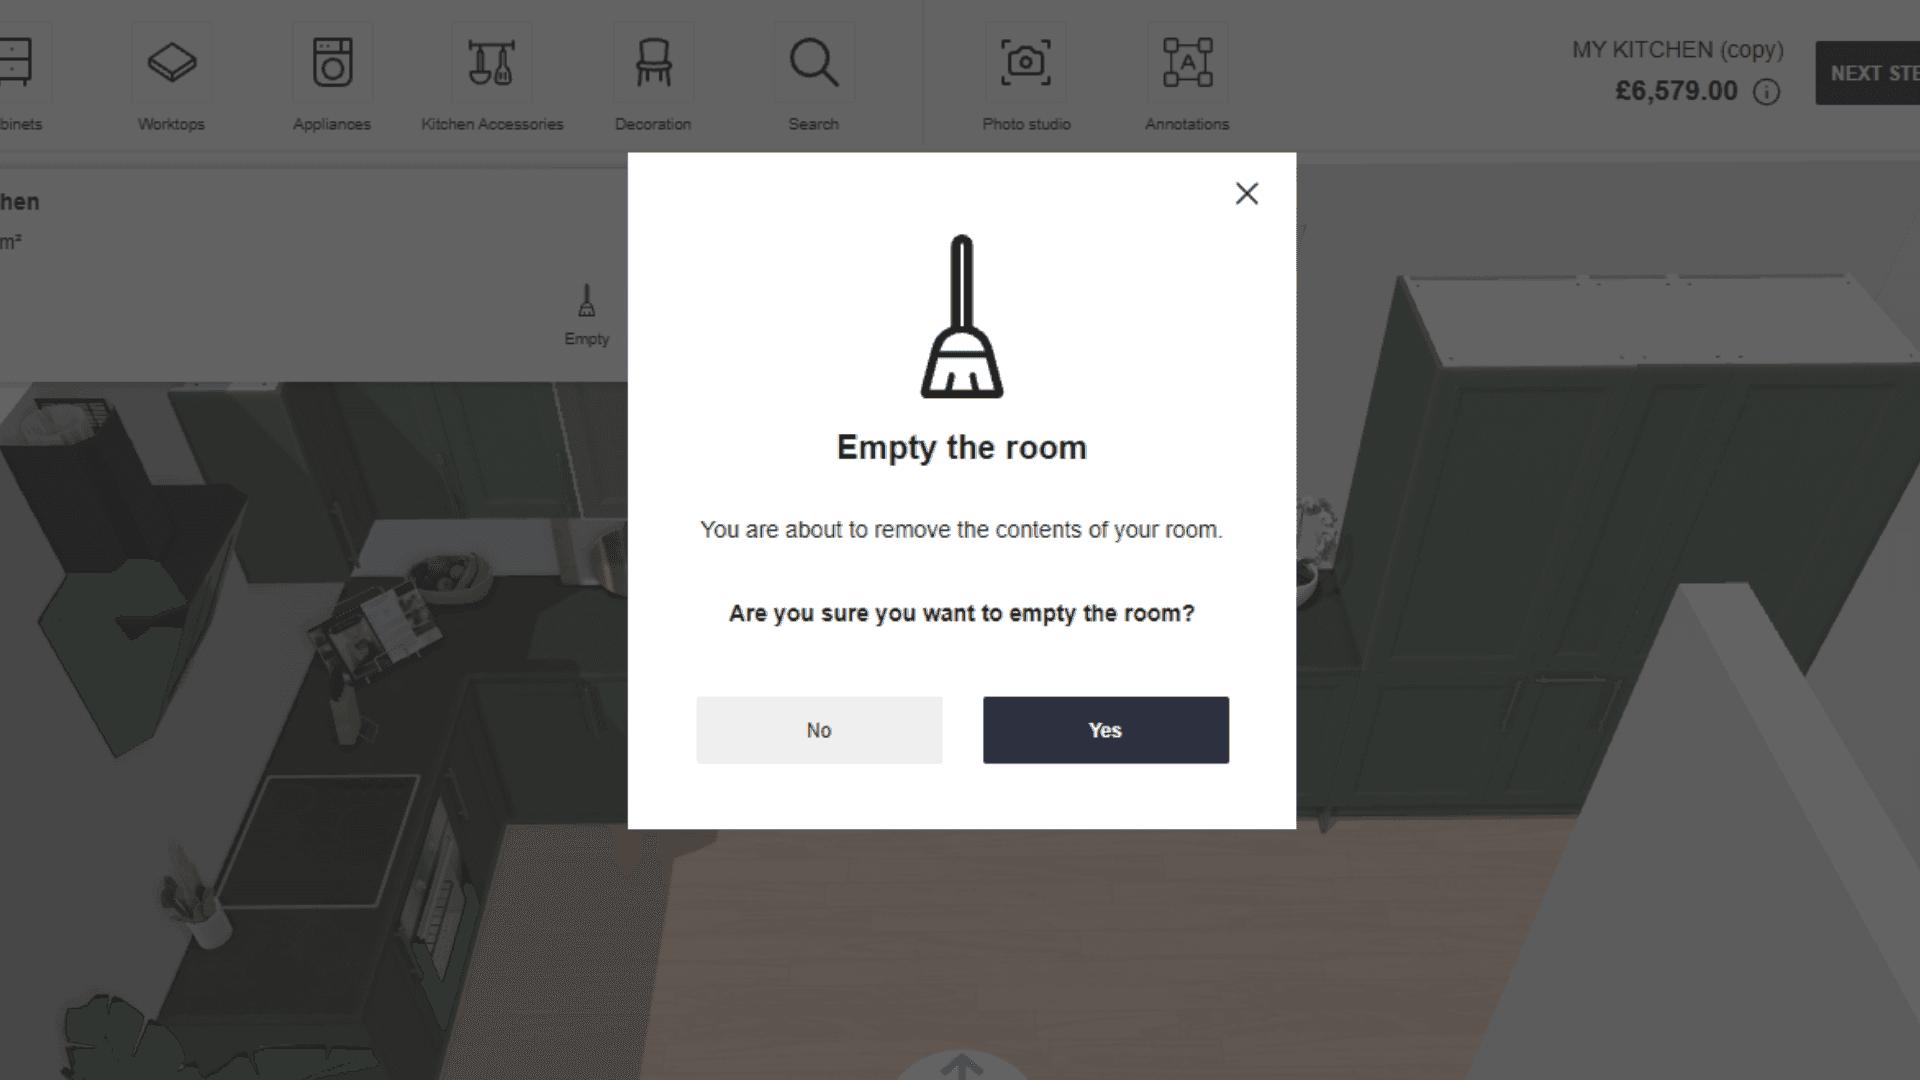
Click on the floor of your plan and select the broom icon on the left hand side. If you want to empty the room and start planning again, click 'Yes’.
Once you've added all the kitchen products you need and you're happy with your design, click 'Next Step' in the top right-hand corner of the planner.
Planning kitchens is no easy feat. More than likely, you’ll have an issue with your plan. But not to worry! Our checker will quickly work it out and help you fix it.
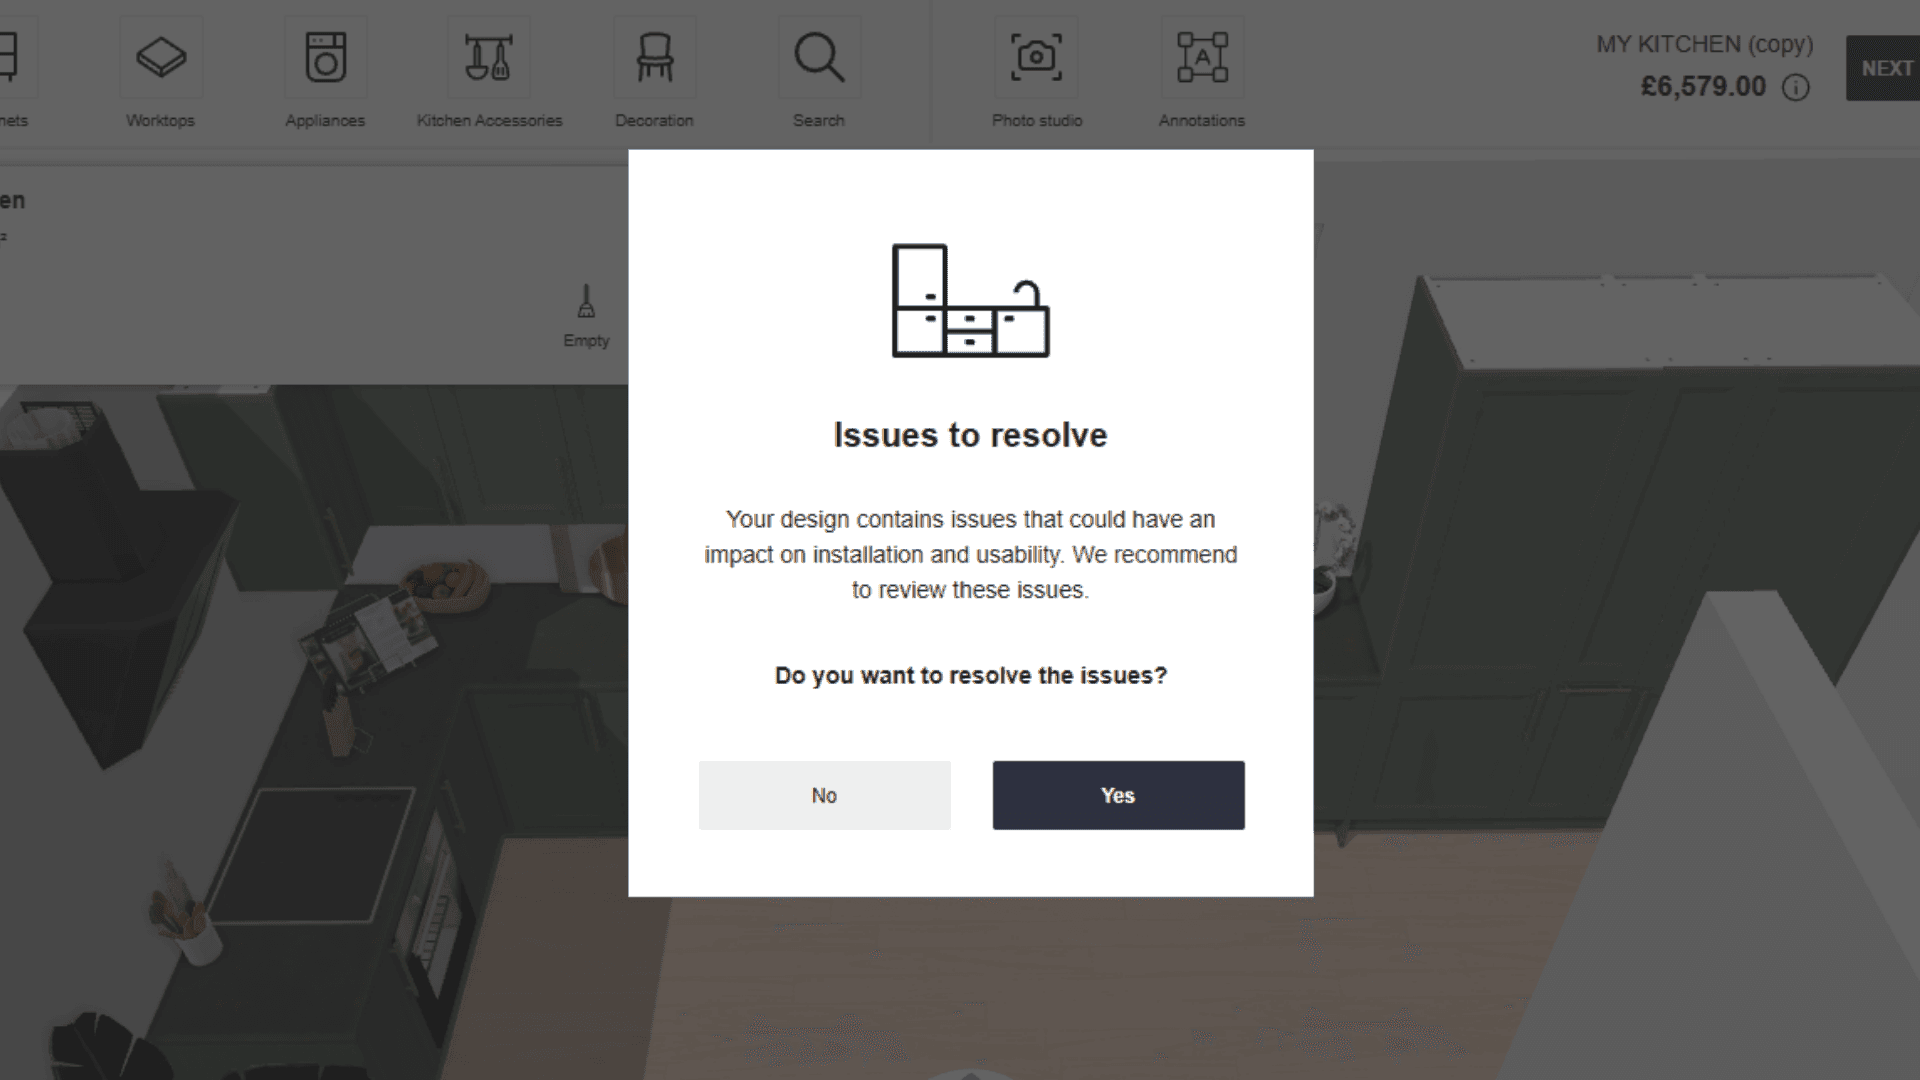
Clicking ‘Yes’ will take you back to your plan and our Help Center will show you how you could improve your kitchen with the space you have.
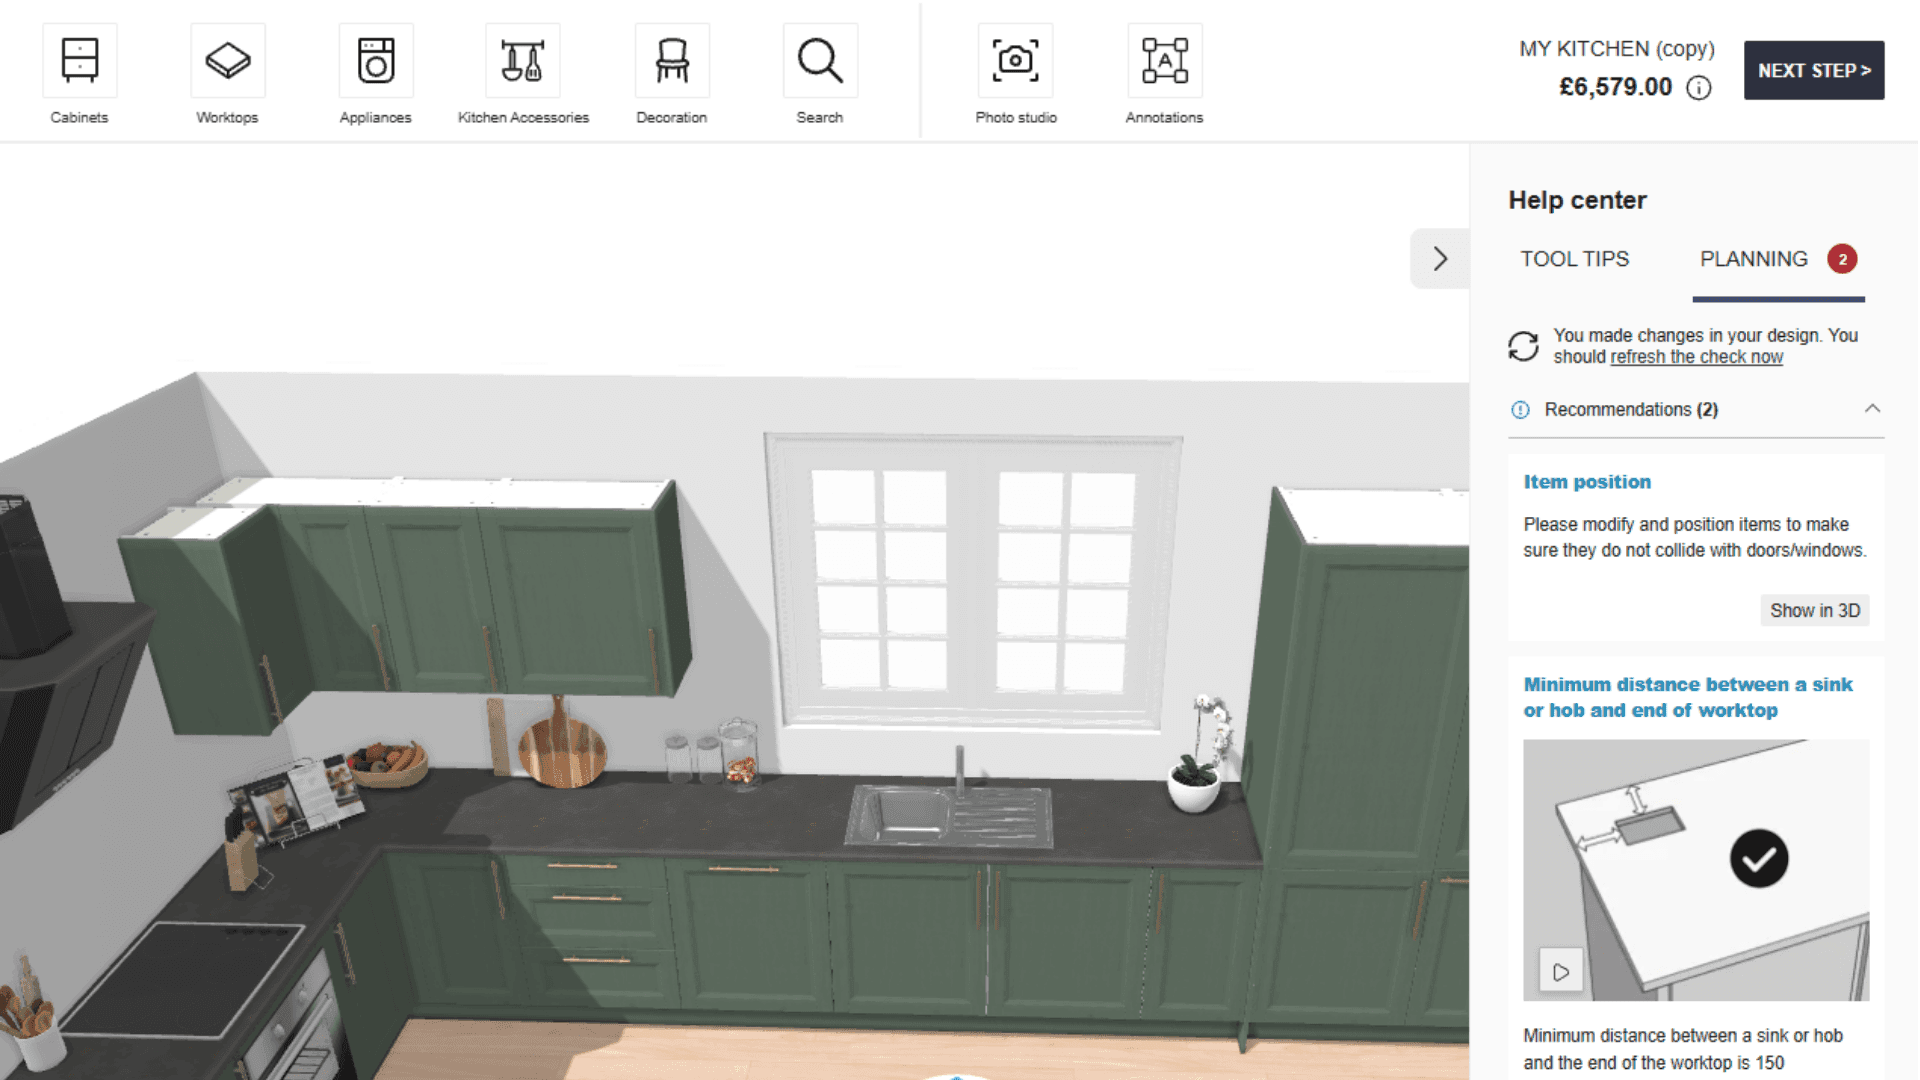
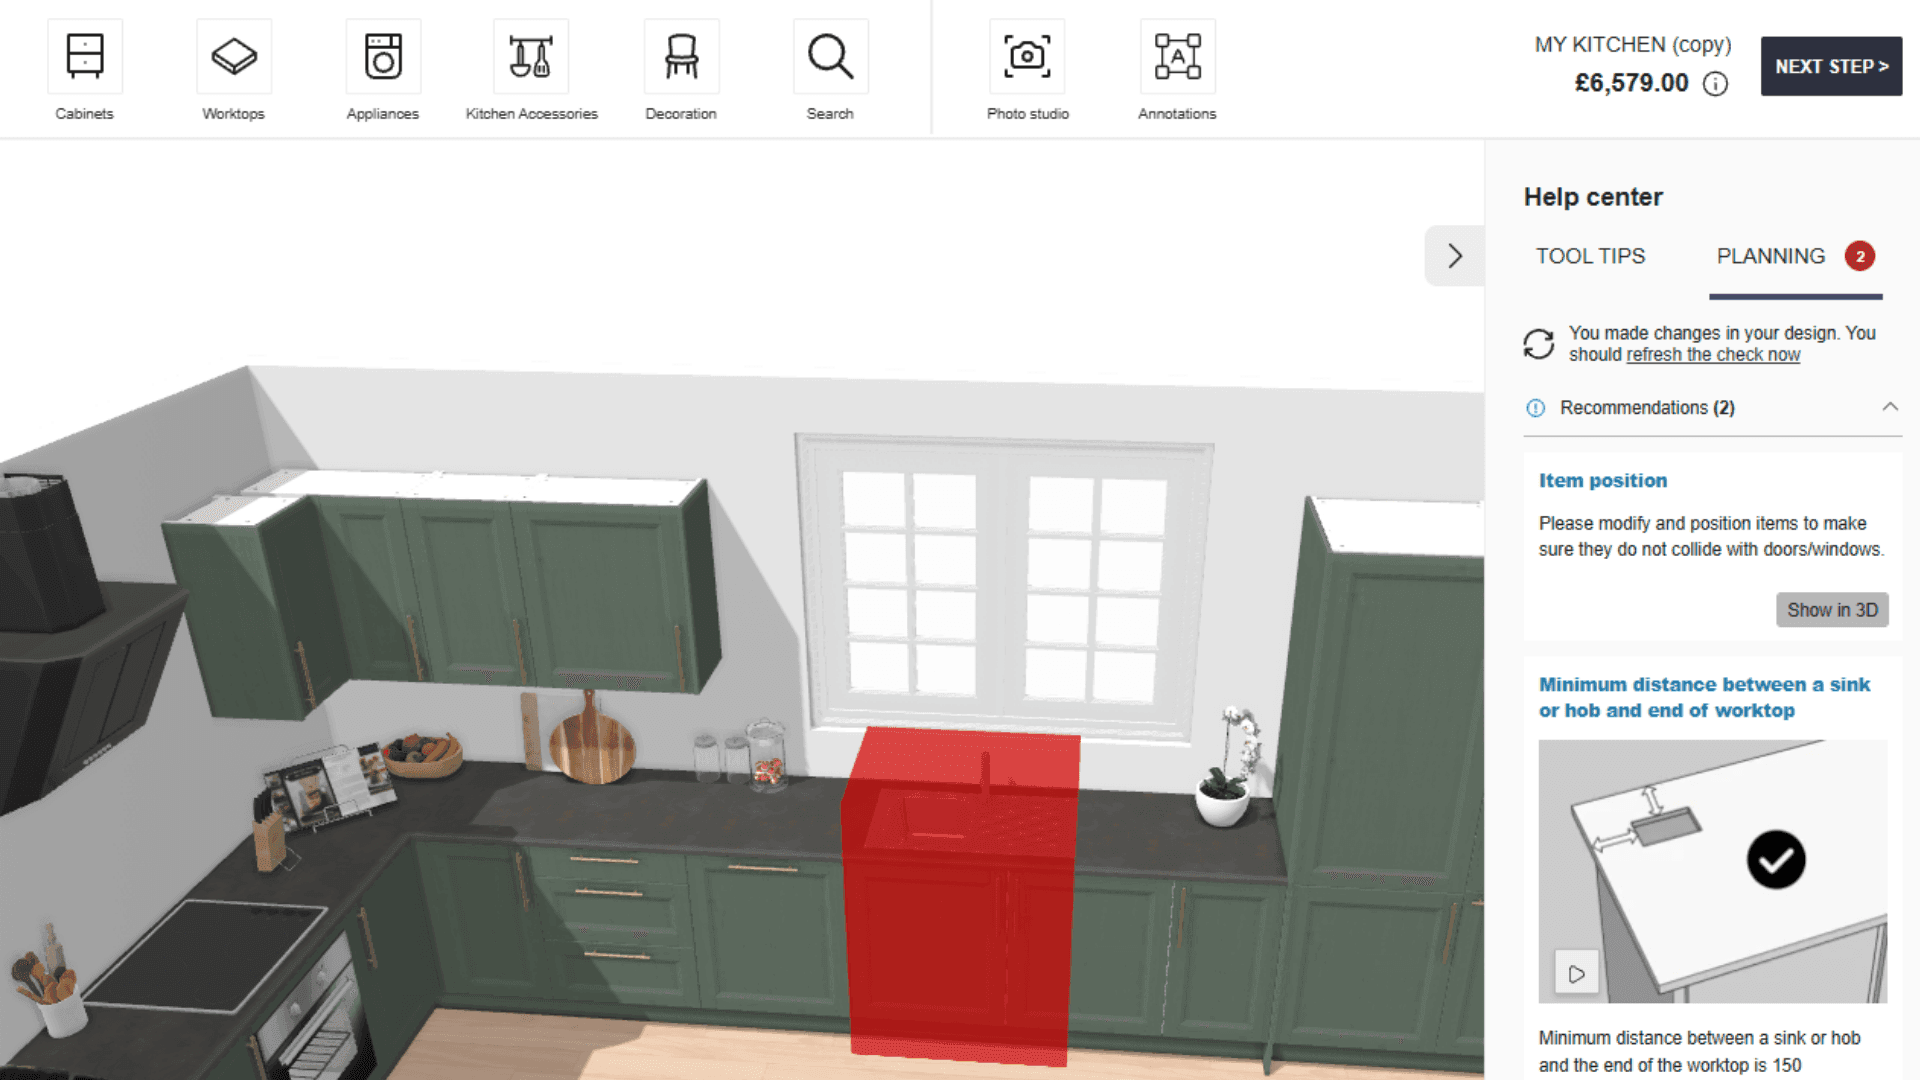
Clicking ‘Show in 3D’ will highlight any issues that our Help Center has picked up during checks.
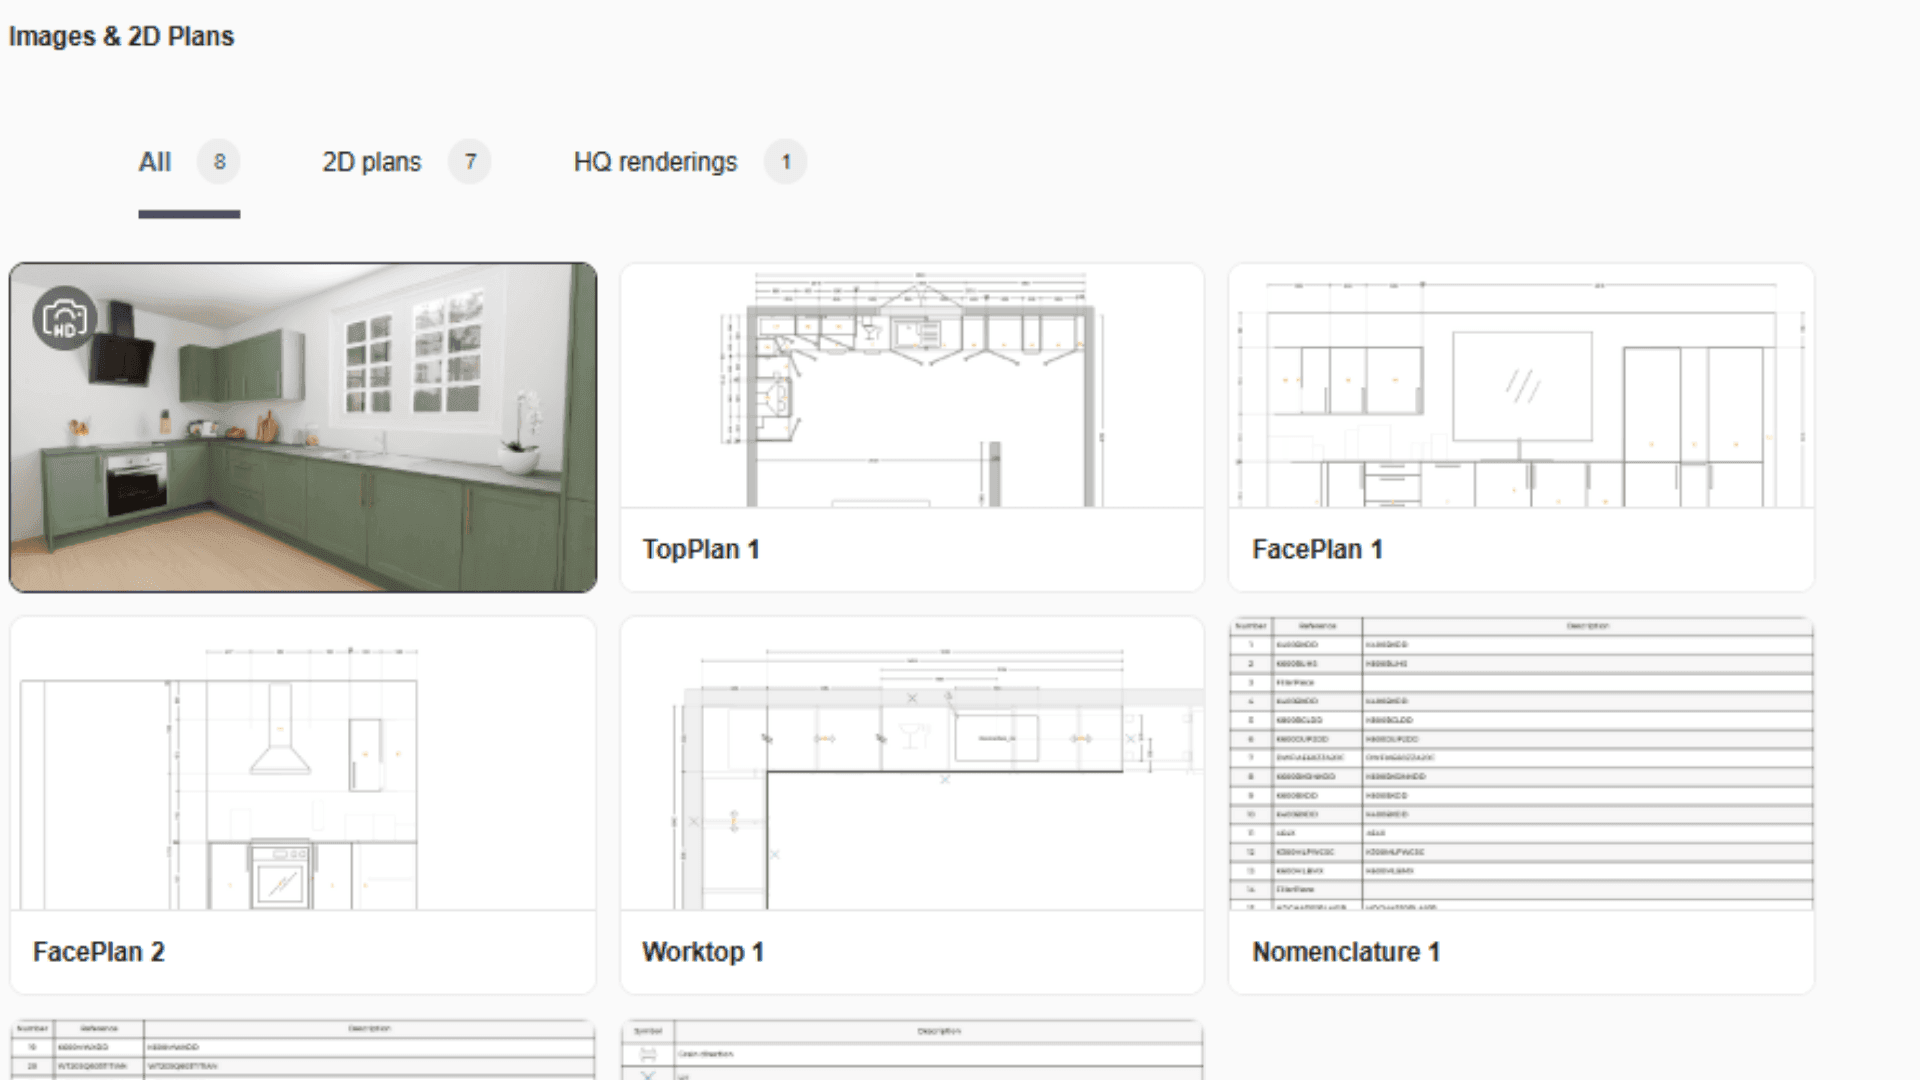
Once you’ve resolved any issues that our checker picked up, you can export your kitchen. You’ll be given a variety of documents you can download, from plans to 3D graphics to full breakdowns of your kitchen.
Seen a similar kitchen for cheaper? We’ll match the price.

Service that just gets it right, every time.

We’ve been building kitchens a long time.

Made right here in our Sussex factory.